
Explain the details of a project in seconds by harnessing the power of visual communication. Humans have been exchanging information through shapes and patterns for thousands of years. Don’t waste precious minutes typing a lengthy email. If you are using Microsoft Windows, a great Windows snipping tool will help you communicate visually faster.
1. The Best Windows Snipping Tool: Zight
Get to the point with Zight’s Microsoft Windows Snipping Tool and show your coworker or customer the important details instead of a lengthy email which they still won’t understand.
Zight is for the doers, those who want to gain the upper hand in the workplace. Get ahead of the game and start snipping.
a) How to Install Zight Windows snipping tool and Take Your First Snip on Your PC or Laptop
Downloading the Zight Microsoft Windows Snipping Tool is quick and easy.
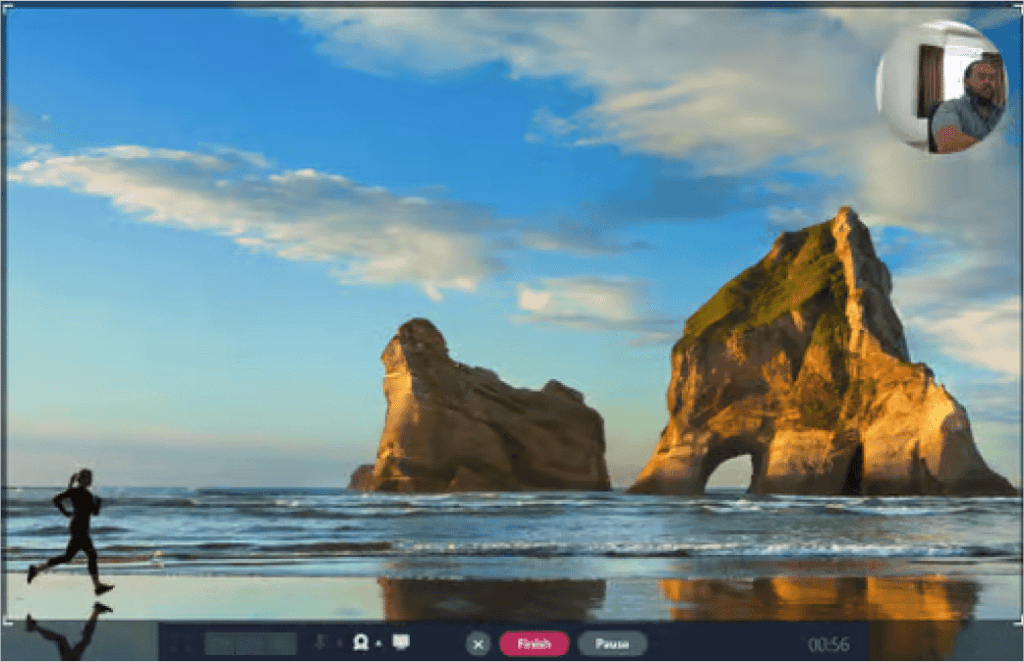
- Record your screen with audio and webcam
- Annotate with arrows, lines, and blur
- Instantly share with a link or upload to YouTube or Vimeo
To get started;
- Simply access the app from Zight or the Microsoft Windows Store
- Register for a free account
- Install and open Zight using the guiding prompts.
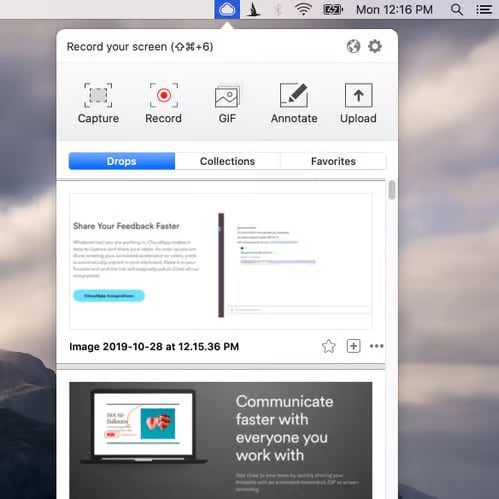
- Start snipping by choosing the “screenshot” option once Zight is open.
- Click and drag on your screen to select the area that will be included in the screenshot
- Release the mouse once you’re done dragging over the area you would like to snip and your screenshot will be ready to edit.
- When done with editing, copy the link to share the screenshot with anyone.
With our snipping tool, you can now capture, edit and annotate images from your screen effortlessly. Enjoy communicating at the speed of sight!
b) How To Easily Edit Any Snip On Microsoft Windows Using Zight
To increase the clarity of your message when you capture screenshots, you need to add concise direction with simple annotations.
Zight’s image annotation tools make adding a line of text or circling important points effortless:
- Snap your screenshot
- Select the edit you wish to make; you can annotate on the image, add buttons or apply a particular template.
- When done, either copy the link of the file to share, or press share button to get more sending options or download the image to store it on your computer.
This is visual communication for the productivity conscious that don’t have time to waste.
c) Integrate Zight with Microsoft Teams, Slack, Trello and more
A successful team utilizes multiple applications to complete their daily tasks. As technology advances and the landscape becomes more competitive, time has always been valuable.
Your business needs to use tools that increase efficiency and work in sync to gain an advantage. Our developers are ahead of the game, ensuring that Zight’s snipping tool is properly integrated with Microsoft Teams and other productivity tools, including Slack, Asana, Basecamp, and Trello. This ensures you don’t have to switch between multiple programs and windows to capture screenshots and share them.
c) Join over 4 million other users like you who communicate visually for free using Zight’s Windows Snipping Tool
You are striving to be the best in your industry, and to do that, you need to have one of the best screenshot software tools in the market. Our customer list includes companies like Snapchat, Adobe, Spotify, and TED. These teams have harnessed the power of Zight and now find the tool indispensable.
One of the development leads at Twitter called our app “the workhorse of team productivity.” What are you waiting for? It’s time to see Zight in action with your free trial — click HERE to get started.
Other Great Windows Snipping Tools To Consider
While Zight does a great job as a Windows Snipping Tool, there are more tools that have built commendable snipping functions for Microsoft Windows. Let’s delve into a list that sheds light on additional snipping tools designed specifically for Windows.
2. Picpick: Best as an All-in-One Design Tool
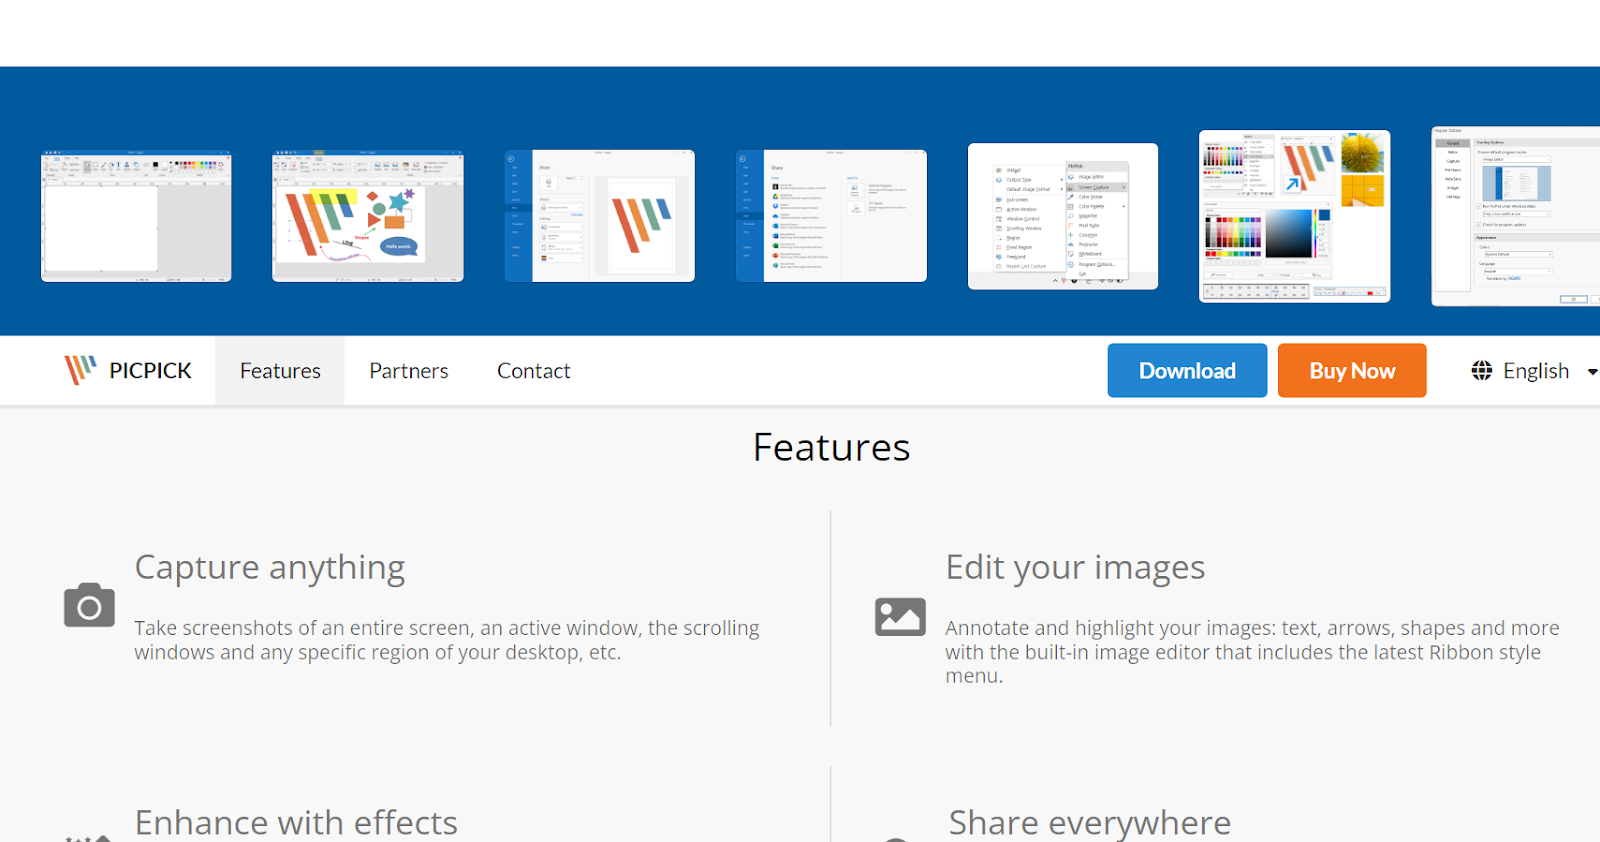
Elevate your screenshots to a new level with PicPick, the power-packed snipping tool that goes beyond the basics. Capture, edit, and enhance screenshots effortlessly before saving them to your hard drive. With its intuitive features, PicPick empowers you to add captivating captions, shapes, blur effects, and pixelation with just a few clicks.
But that’s not all! Take full control of your images by resizing, rotating, and drawing on them to make them your own. Spice up your screenshots with a touch of artistry using shading, mosaics, frames, watermarks, and other mesmerizing effects.
Say goodbye to cumbersome workflows. With PicPick, the image editor springs into action every time you snap a new screenshot, ensuring a seamless and efficient experience. It’s a snipping tool shortcut like no other!
Although video screen recording isn’t currently supported, its wealth of features make it an indispensable tool for anyone seeking to amplify the impact of their screenshots.
Pros
- Three-fold better standard
- Image quality selector
- Graphic design elements
- Inclusive of editing tools and effects such as mosaic, watermarking, and blurring
- Customizable hotkeys
Cons
- Lack of video recording
- Lacks a built-in cloud integration for seamless sharing
3. ShareX: Best for a Free Open-Source Snipping Tool

ShareX is not just a screen capture program; it’s a powerhouse of features waiting to be unleashed on your Windows PC. It reigns supreme as one of the best freely available screenshot capture utilities, empowering you to capture snapshots in multiple ways.
Shape your captures with precision and finesse using the main capture modes: Fullscreen, Window, Region, Polygon, Freehand, Webpage capture, and Scrolling capture.
Customization is the name of the game! Tailor your screenshots with alternative shapes like a rectangle, triangle, diamond, or circle using the customizable Region mode. Take control with hotkeys for each screen capture mode, ensuring lightning-fast captures at your mouse and fingertips.
In addition, ShareX unveils an extensive post-capturing playground. Enhance your screenshots with the basic editor, where you can seamlessly add text, arrows, highlights, and borders to your images. Want to take it up a notch?
Dive into the captivating Image editor, where filters, watermarks, and a spectrum of settings including gamma, hue, sepia, black and white, colorize, and saturation adjustments await your creative touch.
Pros
- Customizable workflows
- Text capture using the OCR technology
- Drag and drop upload
- Various sharing options
Cons
- It doesn’t have tutorials
4. Screenpresso: Best for Multiple Monitor Setups
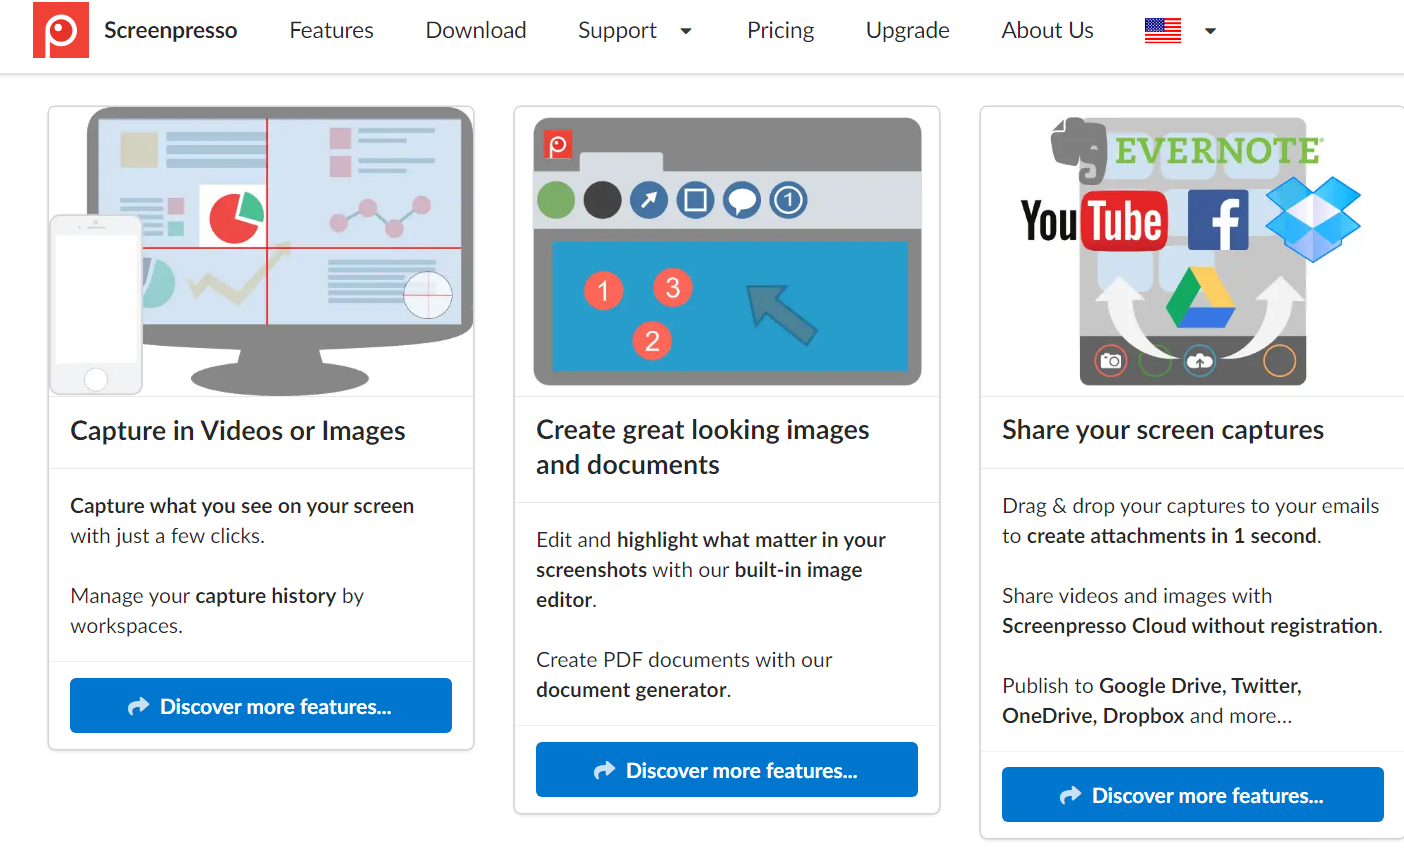
Capture the essence of your screens with ease. Screenpresso seamlessly captures screenshots and records videos, all in one sleek package. But wait, there’s more! Built-in editing features empower you to transform your captures into masterpieces. Add arrows, text content, crop and resize your snapshots, and highlight important areas with a simple click.
Screenpresso stores all your captures in a cloud database, allowing you to save, revisit and retouch them at your leisure. Share your creations with the world and explore the wonders of images that others have crafted in the Screenpresso community.
Are you ready to guide and inspire? Screenpresso is the ultimate tool for guides and tutorials, offering a built-in guide generator and an array of annotations like text boxes, comments, highlights, and arrows.
Lastly, take your documentation to the next level with Screenpresso’s PDF document generator. Seamlessly integrate your screenshots into a comprehensive user manual, infusing it with as much text information as your heart desires.
Pros
- Google Drive integration
- Capture labels and custom folders
- It takes a little HDD space
- Quick installation
- Simple UI
Cons
- Limited support
5. Snagit: Best for Versatility
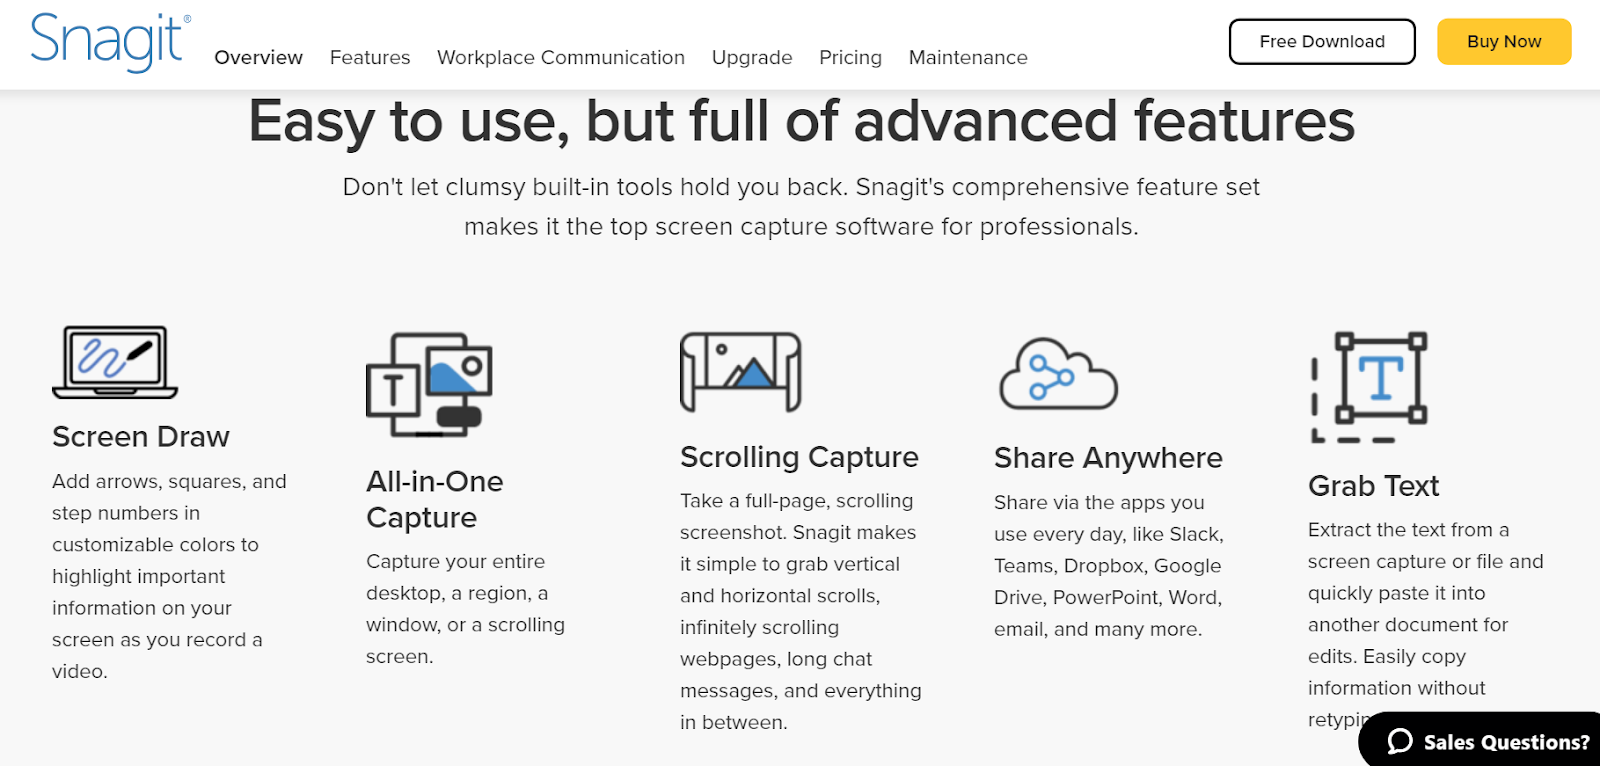
Snagit, the dynamic duo of screen capture and video recording, has arrived to revolutionize your Windows 10/8/7 experience. Brace yourself for a treasure trove of screen capture solutions that will leave you spoiled for choice.
Snagit offers extensive capture possibilities, more editing options surpassing all other screenshot utilities. Snagit’s profiles open a world of creative freedom from fullscreen shots to all-in-one modes and freehand selections.
In addition, Snagit goes above and beyond by allowing you to customize your capture settings with ease. Integrate additional custom settings or explore downloadable options from this page, ensuring your captures are perfectly tailored.
Screenshots are just the beginning. Snagit empowers you to extract snapshots from videos and games, preserving high-quality resolutions that will leave you in awe.
Lastly, the Snagit’s editor awaits. Annotate your snapshots with text, highlighter, and arrows. Dive into endless editing possibilities, from blur and crop to borders and shadows.
Pros
- Shapes, callouts, & arrows are used to enhance the screenshot
- Exports to cloud storage across operating systems
- Pre-made templates
- OCR functionality
- Panoramic scrolling capture
Cons
- File syncing requires third-party cloud storage