Top Rated Screenshot Tool for Fast & Effective Communication
Share information quicker and with more context and clarity using a top rated solution for annotated screenshots with Zight. Our screenshot app is available for Mac, Windows, Chrome and iOS.
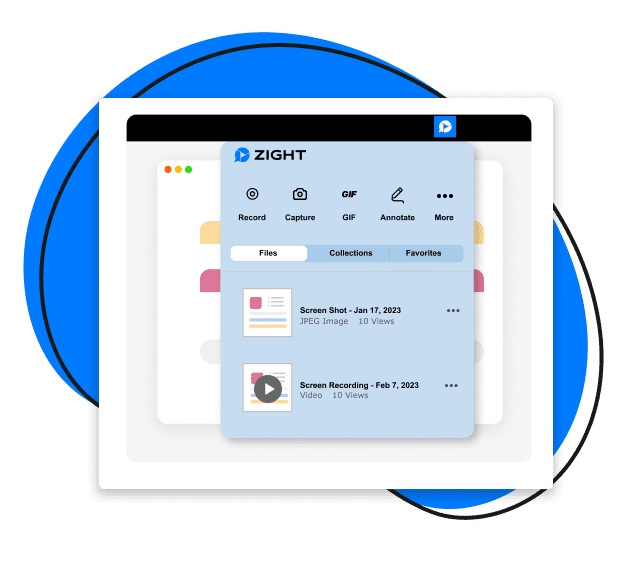
Screenshots For Added Context & Clarity
Fast and flexible communication for the modern workforce

Communicate intricate instructions in seconds.

Avoid wordy chat and emails threads.

Increase team collaboration and productivity.

Improve alignment and understanding.
How To Screenshot with Zight
If a picture is worth a thousand words, imagine how much more you can say with a screenshot. Zight screenshots work for Mac, Windows and Chrome.
Easy Screen Capture
1. Capture Your Screen
Use a shortcut or launch the app and take full or partial screenshots. Zight automatically stores the image in the cloud for easy access. No more desktop screenshot clutter for you.
2. Edit & Annotate
Once you have taken your screenshot, you can modify and edit it to add emphasis and clarity. Editing capabilities allow you to trim recordings, add arrows and text, crop, blur and more.
3. Share Instantly
Your screenshot is now available in your Zight files. Keep it for yourself or easily share it via an autogenerated link anywhere you can share a url. You can also drag and drop items into emails and chat apps.
- Record your screen with audio and webcam
- Annotate with arrows, lines, and blur
- Instantly share with a link or upload to YouTube or Vimeo
Integrates to Work Where You Work
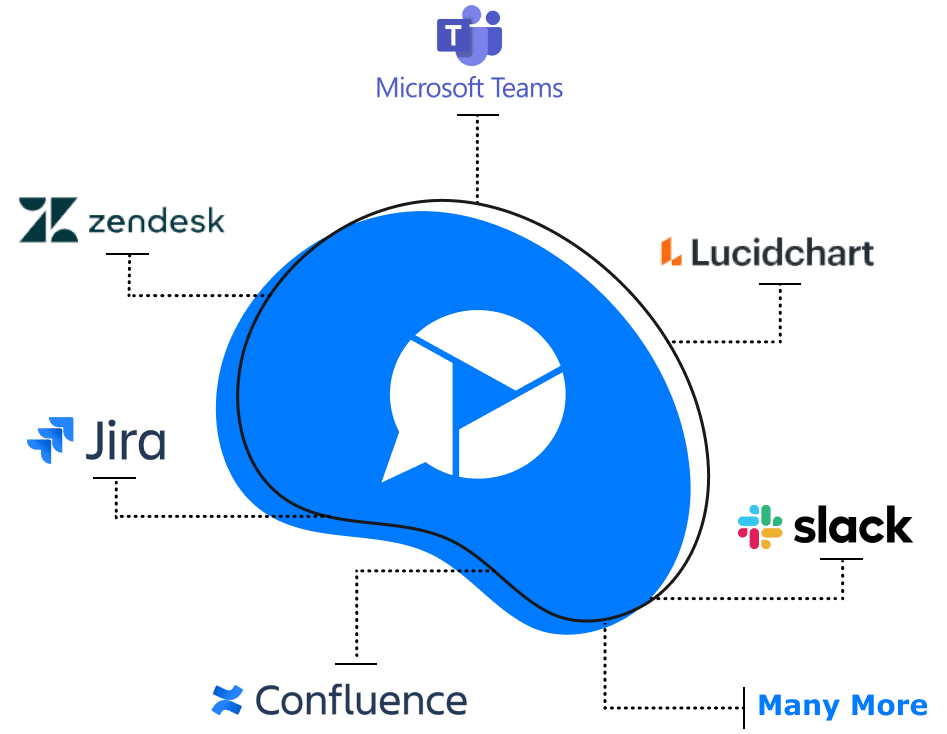
Zight screenshots can be shared wherever you can share a link and integrates directly with your favorite apps including:
Explore Other Zight Features
Explore other Zight features by clicking the buttons below.


Our Customers Love Us
Best. App. Ever. You’ve made supporting customers and training newer members of the team remotely so easy and simple.
Janice Burch, Customer Support | Basecamp
I’m a big fan and have used it daily for many years now.
Mark DiCristina, VP of Marketing | Mailchimp
It lets us pinpoint what texts we're talking about, what part of the UI needs to be changed. And just, cut out a lot of that back and forth in between.
Christine Yen, Founder | Honeycomb
Frequently Asked Questions
Generally, both a snipping tool and a screenshot tool accomplish the same thing, capturing an image of something on your screen. Screen snips are often considered to be only part of a screen while a screenshot is sometimes thought of as the entire screen. Generally, they can be used interchangeably and Zight allows you to do both plus some.
Yes. Zight offers a free plan that’s great for the occasional quick project. Our free plan allows for up to 25 captures of screenshots or recordings.
- Mac
- Windows
- Chrome
- iOS
A screen capture tool creates an image of your entire screen, or a specific part of it—to share context and information easily with others. A screen capture may also be referred to as a screenshot or screen recording.
While Zight has a free plan available, paid plans vary based on plan type and number of users. The Pro Plan is available for $9.95 per month, Teams plans are $8.00 per month with a minimum of 3 users, and custom enterprise plan quotes are available. You can speak with someone on our sales team if you would like to learn more about Enterprise pricing. Contact Sales here.
Zight is available for Mac, Windows, Chrome and iOS. Zight supports Windows 10 and up as well as MacOS BigSur (11.0) and up.
Zight’s powerful features are available in a free tier that allows you to take up to 25 screenshots. This makes it one of the best free screen capture tools out there.
You can download the Zight app to capture the best screenshots. Zight is a versatile app that lets you capture an awesome screenshot, and you can improve it with different editing features like annotations, cropping, and flipping.
The Windows screenshot app is the Snipping tool. It comes pre-installed on all Windows laptops, and allows you to take screenshots and improve them with an easy to use image editor. After taking the instant screenshots, you can save them on your device or copy and paste them on your productivity platforms.
The best way on Windows is to use the print screen button.
The print screen button (PrtSc) is located in the top right corner of your keyboard. Just press the Windows button on your keyboard while holding down the print screen button.
Do you want to use a more powerful screen capture app? Zight is one of the best screenshot tools in the market.
Zight’s screen recorder and screen capture app enables you to take free screenshots and GIFs of your selected area, annotate and share them quickly so you can collaborate efficiently with your teams.
To capture a screenshot using Zight, follow these steps:
- Download and install Zight
- Through your web browser’s download folder, select and download the Zight.msi file
- If Zight does not immediately open, search for and select “Zight”
- Create an account when prompted and enjoy a free trial
- Choose from “camera,” “GIF”, and “HD” icons to create screenshots and GIFs
- Click and drag on your screen to select the area that will be included in the screenshot
- Release the hold on your mouse or touchpad, and your screenshot will be taken automatically
Here are three ways to take a screenshot, depending on your device:
- Use the best screenshot apps like Zight. To do so, just install the app on your device, open it, and click the Screenshot button. Select the area you want to screenshot and capture the image.
- If you have a Mac PC, Press Shift + Command + 4 and select the region you want to screenshot.
- If you have a Windows PC, press the Windows and PrtSc or Prt Sc button.
You can use the Zight screenshot app to take a screenshot of your HP laptop. One of the best screenshot apps you can find, it installs easy, after which you only click the screenshot button to capture your screen. After you take the screenshot, Zight will save it to the cloud where you can always access it.
Alternatively, you can take a screenshot on HP using the Windows + PrtScn button shortcut to use the Snipping Tool.
To move your screenshot app to your Mac toolbar, locate the app in your Applications folder or Launchpad. Then, click and drag the app’s icon to the right side of the Mac toolbar. You’ll notice that other icons in the toolbar will move to make space for the new icon.
Release the app’s icon in the desired location on the toolbar. The app’s icon should now appear in the toolbar.
To capture a screenshpt on your Mac;
- Press Shift + Command + 4.
- Drag the crosshair to select the entire desktop or part of your screen you want to capture.
- Release your mouse or touchpad to take the screenshot.
- Click the thumbnail of the image in the corner of your screen to edit the screenshot.
If you want to use a screenshot app that gives you more features, Zight is the best screenshot app available. Zight’s app enables you to take free screen recordings, unlimited screenshots, GIFs, and more to collaborate easily with your teams.
Our powerful image editor also empowers you to annotate your screenshots with notes before sharing them with your team.
To capture a screenshot using Zight, follow these steps:
- Download and install Zight’s free version
- Through your web browser’s download folder, select and download the Zight.msi file
- If Zight does not immediately open, search for and select “Zight”
- Create a free account when prompted
- Choose from “camera,” “GIF”, and “HD” icons to create screenshots and GIFs
- Click and drag on your screen to select the area that will be included in the screenshot
- Release the hold on your mouse or touchpad, and your screenshot will be taken automatically
On Mac, there is a built-in screenshot software called “Grab” that comes pre-installed with macOS, and it is available for free. You can find Grab in the Utilities folder located within the Applications folder.
To use Grab:
- Go to the Applications folder.
- Open the Utilities folder.
- Double-click on the Grab app to launch it.
If you want to capture the best screenshots of web pages and more for your business, you want to use Zight. It is easy to use, allowing you to capture high-definition screenshots in a few clicks, and annotate them with the image editor.
You might be unable to take screenshots on your Mac if you use the wrong keyboard settings. If you are sure you’re using the right shortcuts, restart the PC to troubleshoot the problem.
If that doesn’t work, download the free Zight tool that allows you to capture and share screenshots with the click of a few buttons.
Zight’s screenshot capture tool is the best app because of the following features:
- Capture your whole screen or sections of it
- Annotate the screenshots to communicate visually
- Easily make a loopable GIF showing step-by-step instructions
- Upload the image and share instantly using a link or by dragging and dropping the image into your favorite platforms like Slack, Asana, and more.
You can capture high-quality screenshots using Zight’s screenshot app by following the steps below:
- Download and install Zight
- Through your web browser’s download folder, select and download the Zight.msi file
- If Zight does not immediately open, search for and select “Zight”
- Create an account
- Choose from “camera,” “GIF”, and “HD” icons to create screenshots and GIFs
- Click and drag on your screen to select the area that will be included in the screenshot
- Release the hold on your mouse or touchpad, and your screenshot will be taken automatically
Thanks to Zight’s robust screenshot software, you don’t have to do more work to make a screenshot clear.
Simply take the screenshot and share it quickly by dragging and dropping it into your favorite sharing platform or using a simple easy-to-share link.
However, if you have taken a low-quality screenshot using another app, consider retaking it using Zight.
You can take a high-quality 1080p screenshot using Zight’s screenshot software. Our app allows you to take screenshots of up to 4k quality.
- Download Zight
- Click on the Zight icon
- Select the option to take a screenshot
- Click and drag to select the area which you want to screen capture
- Release your hold on the mouse to take the screenshot
- You will be given the option to annotate immediately after the screenshot is taken
- When done, find the screenshot in your Zight Drops
- Zight immediately populates a shareable link, so you can send your screenshot to colleagues and friends
Zight is one of the best screen recorder/capture software for a Samsung Android device. You can take unlimited screenshots with the following steps:
- Press the power and volume down keys simultaneously to capture the screen
- After the screeshot is taken, open preview or select the option to edit
- Annotate, crop, or share the image
The best way to screen capture on Windows is to use the print screen (PrtSc or Prt Sc) button.
The print screen button is located on the top right corner of your keyboard. Just press the Windows button on your keyboard while holding down the print screen button.
If you want to use a screen capture app that gives you more powerful features, Zight is the best screenshot tool for you.
Zight’s screen capture app enables you to take free screenshots and loopable GIFs of your selected area so you can collaborate easily with your teams.