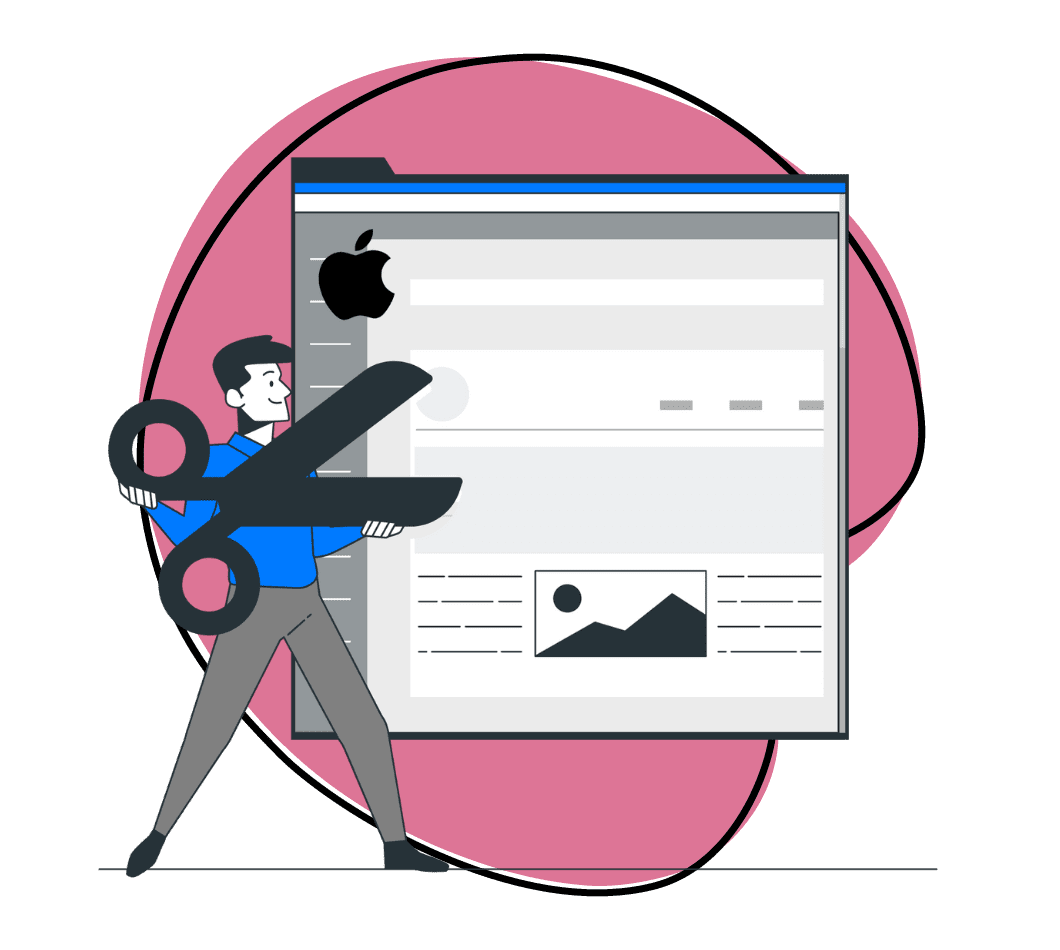
When working on a Mac, you may need to send a message to your users or colleagues quickly without necessitating a meeting or a lengthy email. Visual communication comes in handy in such situations. All you need is a snipping tool for Mac, capture a screenshot, annotate it and share.
While there are many options in the market for this, we have done a detailed review of the best snipping tools for Mac to help you make a choice.
1. The Best Snipping Tool for Mac: Zight
Zight stands out as the best Mac snipping tool thanks to its user-friendly interface, versatile snipping options, powerful annotation tools, easy sharing and saving capabilities, customization options, and cross-platform support.
With Zight, you can enhance your own snipping tool experience and streamline your workflow to create and annotate screenshots on your Mac.
a) Zight Overview
Named a leading screen and video capture application by G2 based on user reviews and feedback, the Zight screenshot application is available for Mac, Windows, Chrome, Linux, and iOS.

Zight users save several minutes every day when they capture an image – time that would otherwise get wasted up in long video calls or emails.
Before diving deep into our review of Zight, remember, you can get started with Zight today for free. Give it a run by signing up, no credit card required.
The tool is available for instant download from the Mac App Store. For a tutorial on how to get started, check out the video below:
b) Why Zight Is The Best Screenshot Tool for Mac
Zight offers a sleek and intuitive interface that makes capturing and snipping screenshots a breeze. Its simple design lets users quickly grasp the tool’s functionalities, even if they are new to a screen capture tool or snipping tools for Mac.
Whether you want to capture a full screen, a specific area, a window, or even a scrolling webpage, Zight offers versatile snipping modes to accommodate various requirements.
Get visual: Visual learning is a powerful way to convey and retain information, making visual communication paramount for every industry where speed and clarity are essential.
Empower your teams, from designers to customer support, with a hassle-free snipping tool.
c) How to Take A Screen Snip on Mac
Macs include a built-in or default snipping tool that lets you snip content using shift + command + 4. However, that Mac snipping tool can make your desktop feel cluttered and disorganized.
That’s right. You need a Mac snipping tool alternative that isn’t just any app. It’s the best snipping tool to supercharge your workday.
Zight is the best one for Mac users, hands down. Instead of using the default snipping tool, Zight’s screenshot tool or screenshot app for Mac ensures you can capture the entire screen or just a portion of your screen with a split-second snip–and save it immediately to a clipboard in your toolbar. So, no cluttered files!
With Zight, you can create screenshots, snip your entire screen or part of your screen, and share these snips and annotations in seconds.
Want to stay organized or quickly find a past snip? Zight allows you to search your saved screenshots by color, keywords, and pictures.
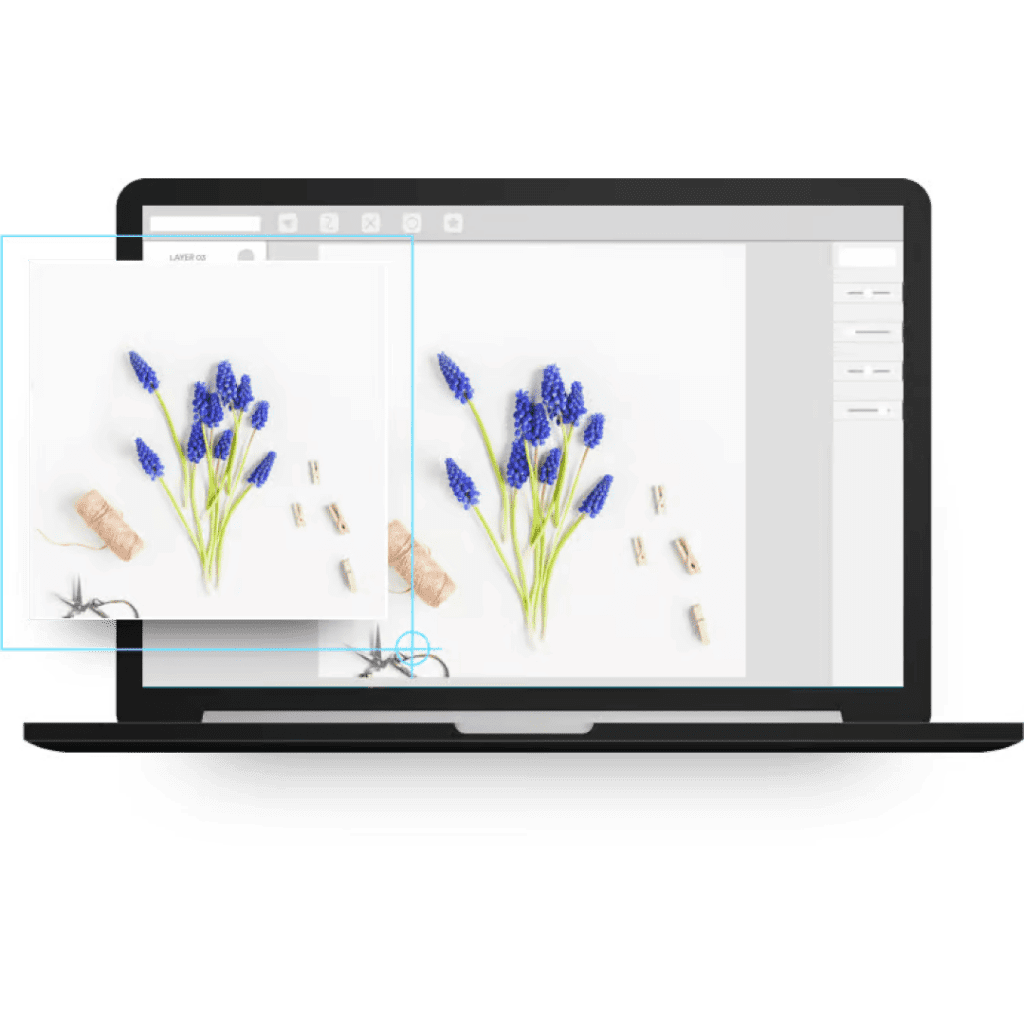
d) How to Edit Your Mac Screenshot
Editing screenshots is easy with Zight. Whatever screen capture mode you’ve chosen — whether you’ve captured your entire screen but only want to share a portion — Zight enables you to crop out and blur information.
e) How to Share Zight Screen Captures with No Clicks
You can paste your quick screenshot into an email — or any other team communication platform such as Slack, Trello, Asana, JIRA, Google Docs, Zendesk, and more with Zight’s automatic link generator.
With every snip, the screenshot is automatically saved. From there, Zight creates a custom link that’s easy to share and protect.
The entire process is intuitive and happens in the blink of an eye. Be prepared to become an office all-star with this screenshot tool.
f) How to Annotate Mac Screenshots with Zight
Want to say something on your snip? Point out a specific detail? No need to open a different app or tool — or even take your eyes off the image you’re snipping.
Simply snip a part or your entire screen, check your clipboard, and select the editor to annotate screenshots. Edit, annotate, and share. Zight is the fastest way to snip, annotate and share simultaneously and the only snipping tool for Mac downloads that do all three in one easy sweep.
Zight’s extra annotation feature for editing screenshots shaves almost 1 minute and 20 seconds from a typical email or typing communication.
g) How to Create GIFs using Zight Snipping Tool for Mac
70% of people learn better visually; GIFs are proven to convey more info faster. Did you know you can use Zight to create GIFs that both customers and teams will love? Boost morale, convey dense information into a simple image, and get your point across more effectively and entertainingly.
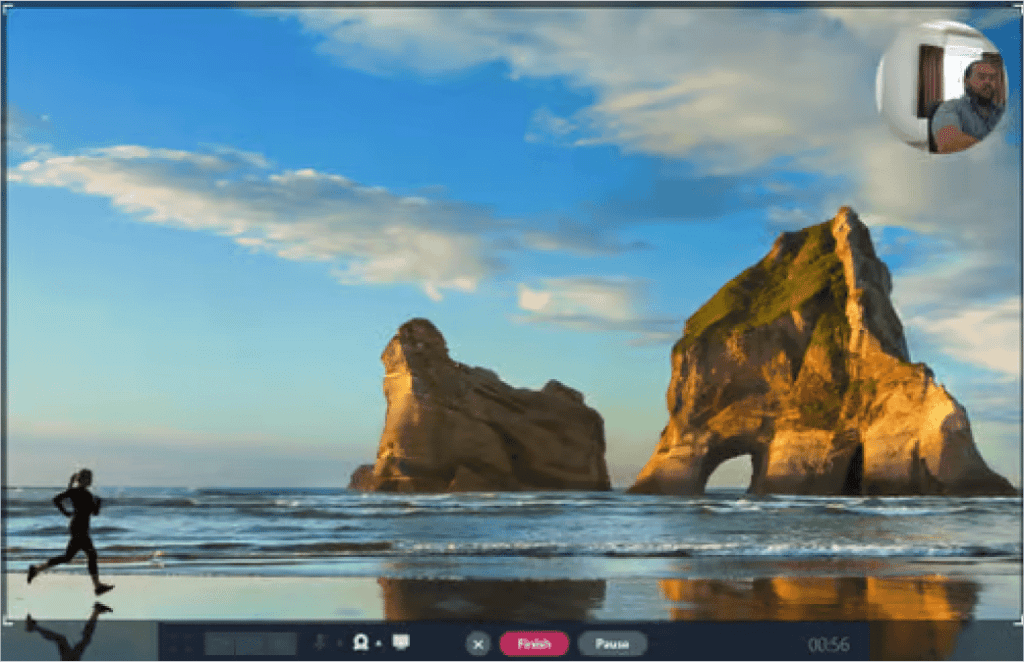
Love video? With the screen recording for Mac feature, nothing gets the job done faster than a quick explainer HD video or a webcam recording with a fast audio explanation. Connect with customers face-to-face or explain complicated concepts and instructions via video or audio screen recording.
e) Do More with Zight Snipping tool on Mac
Want a tool that will quickly and easily capture anything on your screen? Zight doesn’t just snip images. You can also use our screenshot Mac app to capture GIFs, videos, and screen recordings on your Mac devices. Let your creativity flow with video annotation or dual-screen and webcam recording.
With Zight’s snipping tool for Mac, you can record video or screen captures in a snap. Creating content has never been so easy. In other words, Zight’s screen capture tools for Mac feature saves you from repeating yourself all day, every day.
Still Don’t Believe Us? See For Yourself
Don’t restrict your creativity or slow your workflow even more with antiquated snipping tool software. It’s time to step into the 21st century and catch up with this on-demand world.
Sign up for a free Zight account, and try it for yourself!
10 More Mac Snipping Tools Worth Considering
Now that you’ve got an idea of how a high-quality snipping tool can revolutionize your work. The following list offers insight into more of the best snipping tools for Mac.
1. Snagit: Best for Customizability
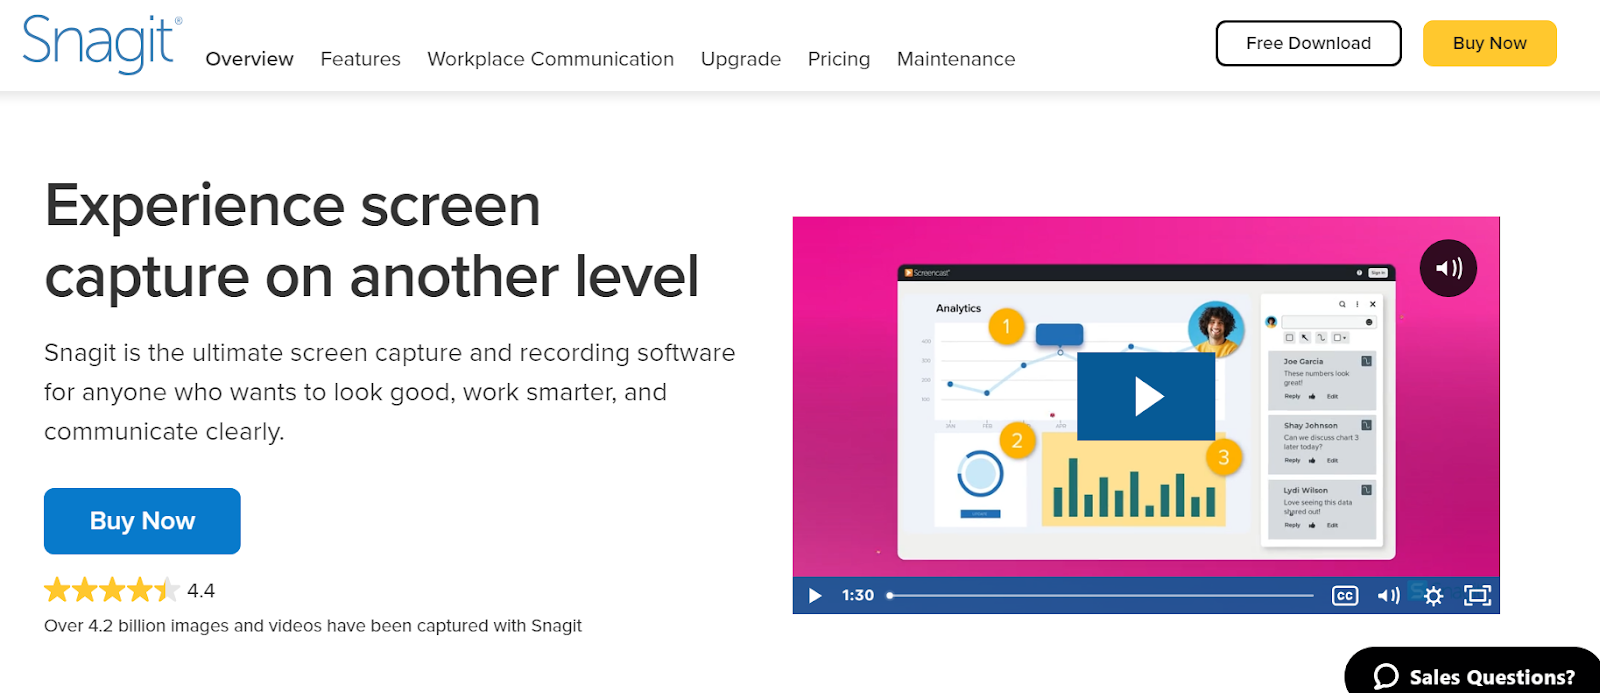
Like most of the best snipping tools, Snagit offers more than just a high-quality snipping tool. It was originally developed for businesses, content creators, educators looking to create visual instructions, and anyone looking for a simple tool to improve communication with visuals.
Many of its features, including panoramic shots that capture web page scrolling, videos using screenshots and audio, mark-up tool options, and integrations, are designed with businesses in mind. However, unlike Zight, the Snagit snipping tool does not integrate with most work productivity apps.
With Snagit, you have a Windows snipping tool and a photo editor rolled into one. Choose the type of screenshot you want to capture, including individual menus, webpages, webcams, or panoramic screenshots, then choose if you want to add effects or use the timer. The compact controls are available anytime on the side of your screen, so you can quickly and easily select or create the kind of shot you want.
Convert an image or video you’ve captured from your screen into a GIF, or annotate and edit your images with shapes, arrows, callouts, and more right in Snagit. Once you’ve got your desired image, crop it, and export it in the format of your choice. You can also capture and paste text from an image into a text editor.
With a monthly subscription, you can access the full range of features. Plus, the snipping tool’s interface is incredibly simple and easy to use, making it easy for the average Mac user to learn and use. Make complex edits within the application in a matter of minutes with just a few clicks.
If you’re looking for a good snipping tool to capture screenshots quickly, look at other options.
Pros
- Versatile capture options
- Advanced editing and annotation tools
- Integration and sharing options
- Customization and templates
- User-friendly interface
Cons
- It is a learning curve for users who are not familiar with the software
- Its video editing capabilities are relatively basic compared to dedicated video editing software
2. Lightshot: Best for Simple Screenshot Capturing Capabilities
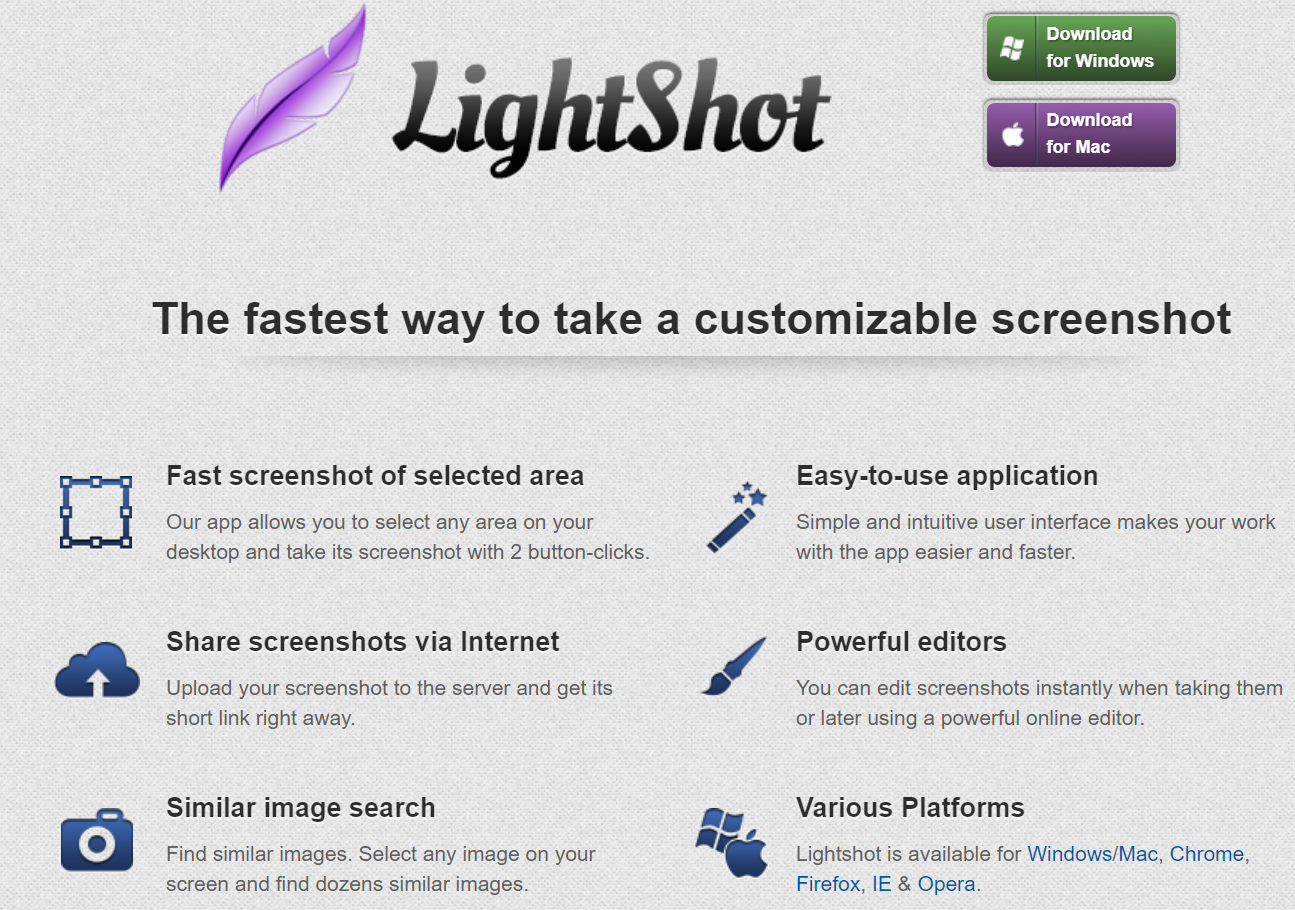
As the name suggests, this snipping tool for Mac offers a lightweight, simple, and intuitive application.
Capture snapshots, crop photos, doodle, or annotate on the captured screenshot. With its intuitive screenshot editor, you never have to leave the application. Simply highlight part of a screenshot or add annotations.
Once you’ve saved your screenshot, you can copy it to the clipboard, upload it to Lightshot’s image-sharing website, export them to social media accounts or websites, or share a public link for the image however or wherever you want.
If you’re in the market for the best free snipping tool for Mac, Lightshot is a great option that has existed since 2009. Quickly capture and annotate screenshots with this user-friendly snipping tool.
It’s also arguably one of the easiest and fastest snipping tools for Mac, so if learning how to use a snipping tool on Mac seems daunting, this could be a good tool for you. If you want a more advanced and feature-rich tool, check out other options.
Pros
- Takes screenshots in two clicks
- Free of charge
- Annotations (frames, text, arrows, etc.)
- Sharing via a direct link to LightShot servers
- User-friendly interface
- Quick and convenient capturing
- Easy sharing on Facebook and Twitter
Cons
- You need to have an account to access the gallery of your previously taken screenshots
- It has no advanced editing and annotation tools
3. Monosnap: Best for a Variety of Save and Share Options
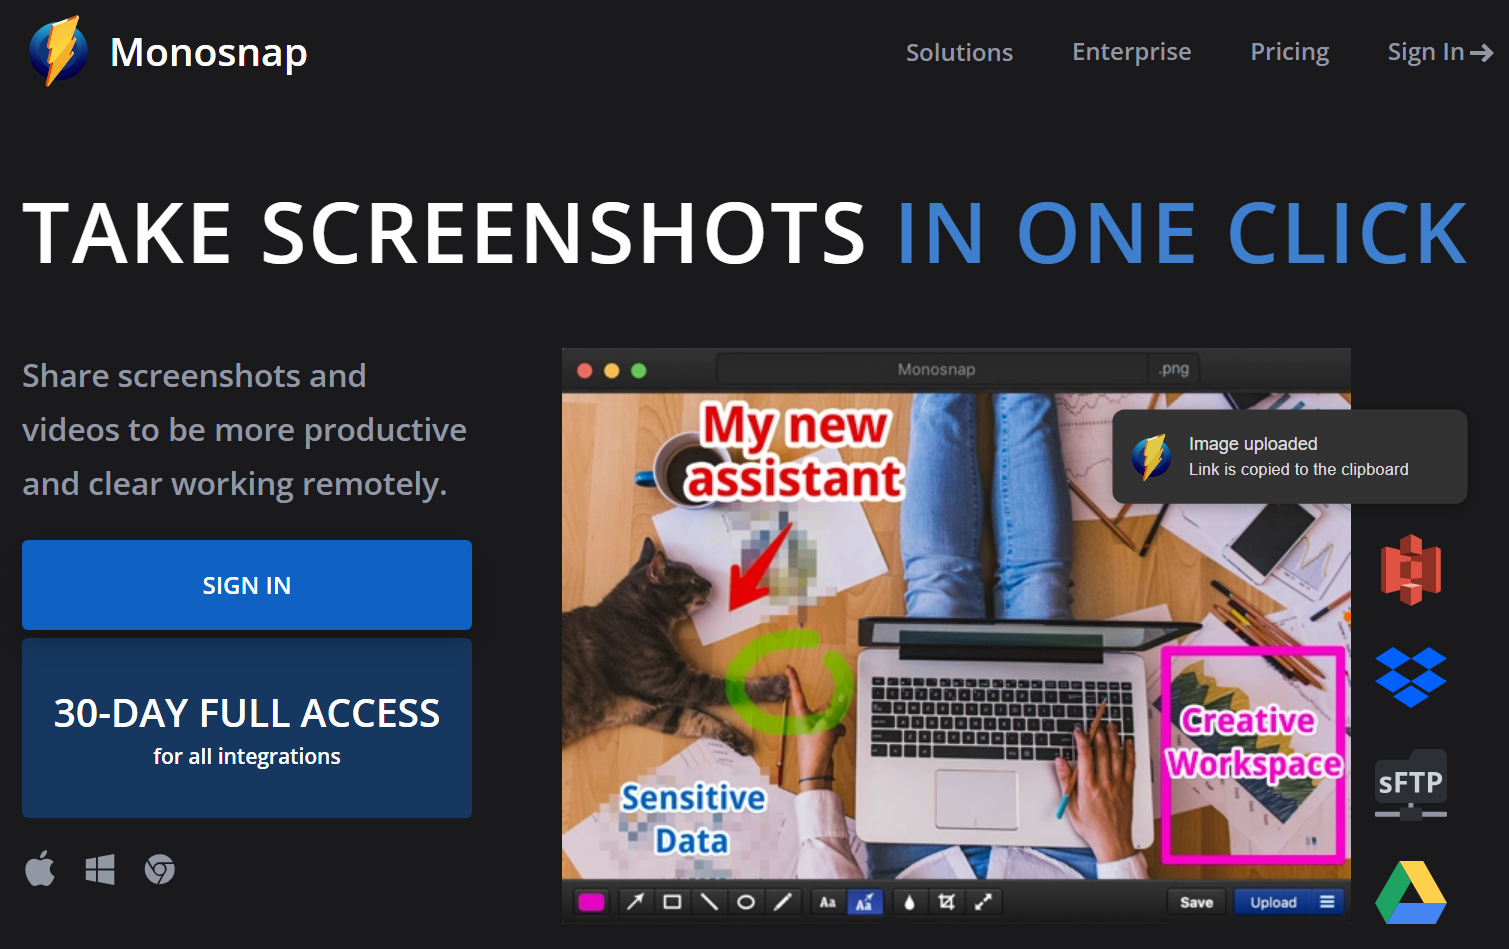
Monosnap is a modern version of Lightshot that offers more features. This online service doubles as a cloud storage, content management system, and snipping tool. Capture your full screen, or just a part of it, record videos, or create GIFs.
Like with other snipping tools for Mac, once you’ve captured your screenshot, use the built-in editing tools to mark up and annotate your screenshot before sharing it. From there, save the image to the local drive, or share the image using Monoscape Cloud Storage.
If you’re in the market for the best free snipping tool for Mac, the free version provides 2GB Monoscape Cloud Storage for sharing photos with the option of upgrading to a Pro plan to add more storage or your storage providers.
Pros
- Annotation and editing tools, such as text, arrows, shapes, blurring, and highlighting
- Versatile capture options
- Several save and share options
- Cloud storage and sharing
- Blurs private info
- Customizable hotkeys and shortcuts
- Collaborative features
Cons
- Limited video recording on the free plan
- Watermark in the free version
4. Skitch: Best for Inexperienced Users
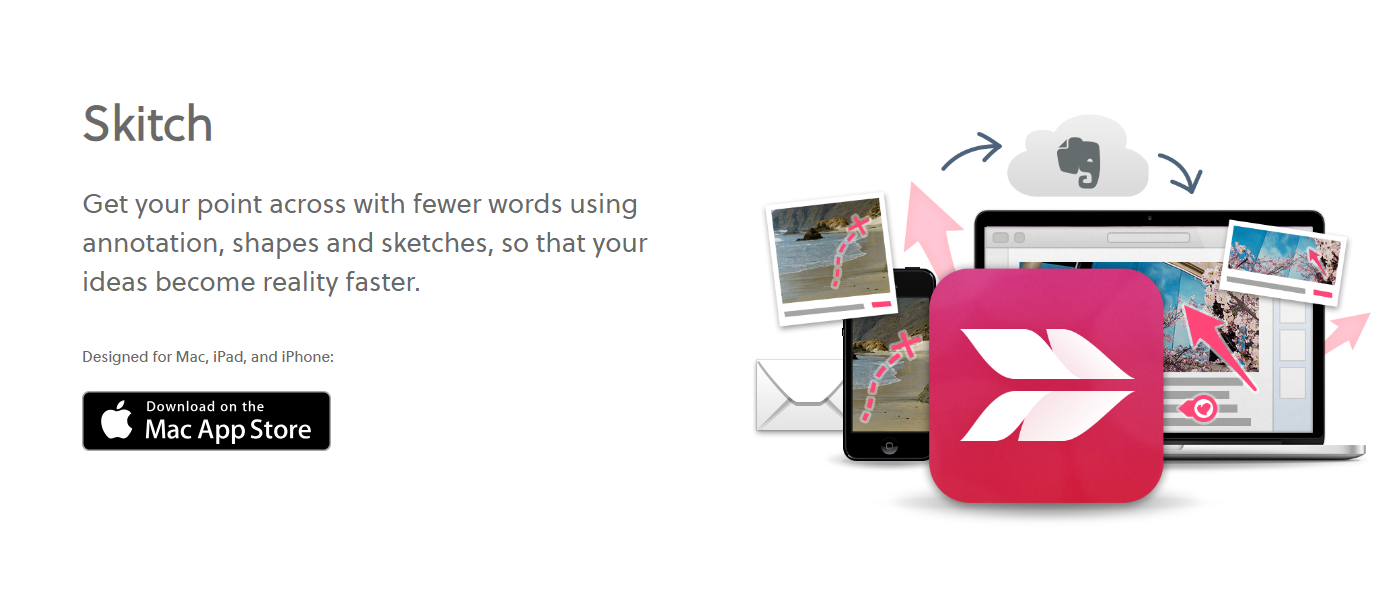
Skitch is a popular choice and is often featured on lists of the best snipping tools for Mac, especially for inexperienced users. It is a simple, easy-to-use, sophisticated snipping tool and mark-up editor. The interface launches quickly and features easily identifiable tool icons, making it simple for anyone to use.
Take screenshots, edit them using top-notch annotation features, and share them with others. Its mark-up function includes text, arrows, multiple lines, callouts, eight colors, shapes, a highlighter, a pixelator to blur areas, and cropping tools.
Designed by and owned by Evernote, Skitch was created with businesses in mind. Are you taking screenshots and marking them up for your team? Do you use Evernote? You may find that Skitch is one of the best snipping tools for Mac for your specific needs.
If you are searching for the best free snipping tool for Mac, many of Skitch’s functions are free, but an Evernote premium account is required to mark up PDFs and save files to Evernote instead of your desktop or phone. Without Evernote, drag and drop your file into emails or messaging apps.
Pros
- Free snipping tool
- Quick sharing options
- Image resizing and optimization
- Seamless integration with Evernote
- Basic annotation features such as adding shapes, text, arrows, and highlighting
Cons
- Limited capturing options
- No eraser
- It lacks a video recording feature
5. SnapNDrag: Best for High-Quality Snippets
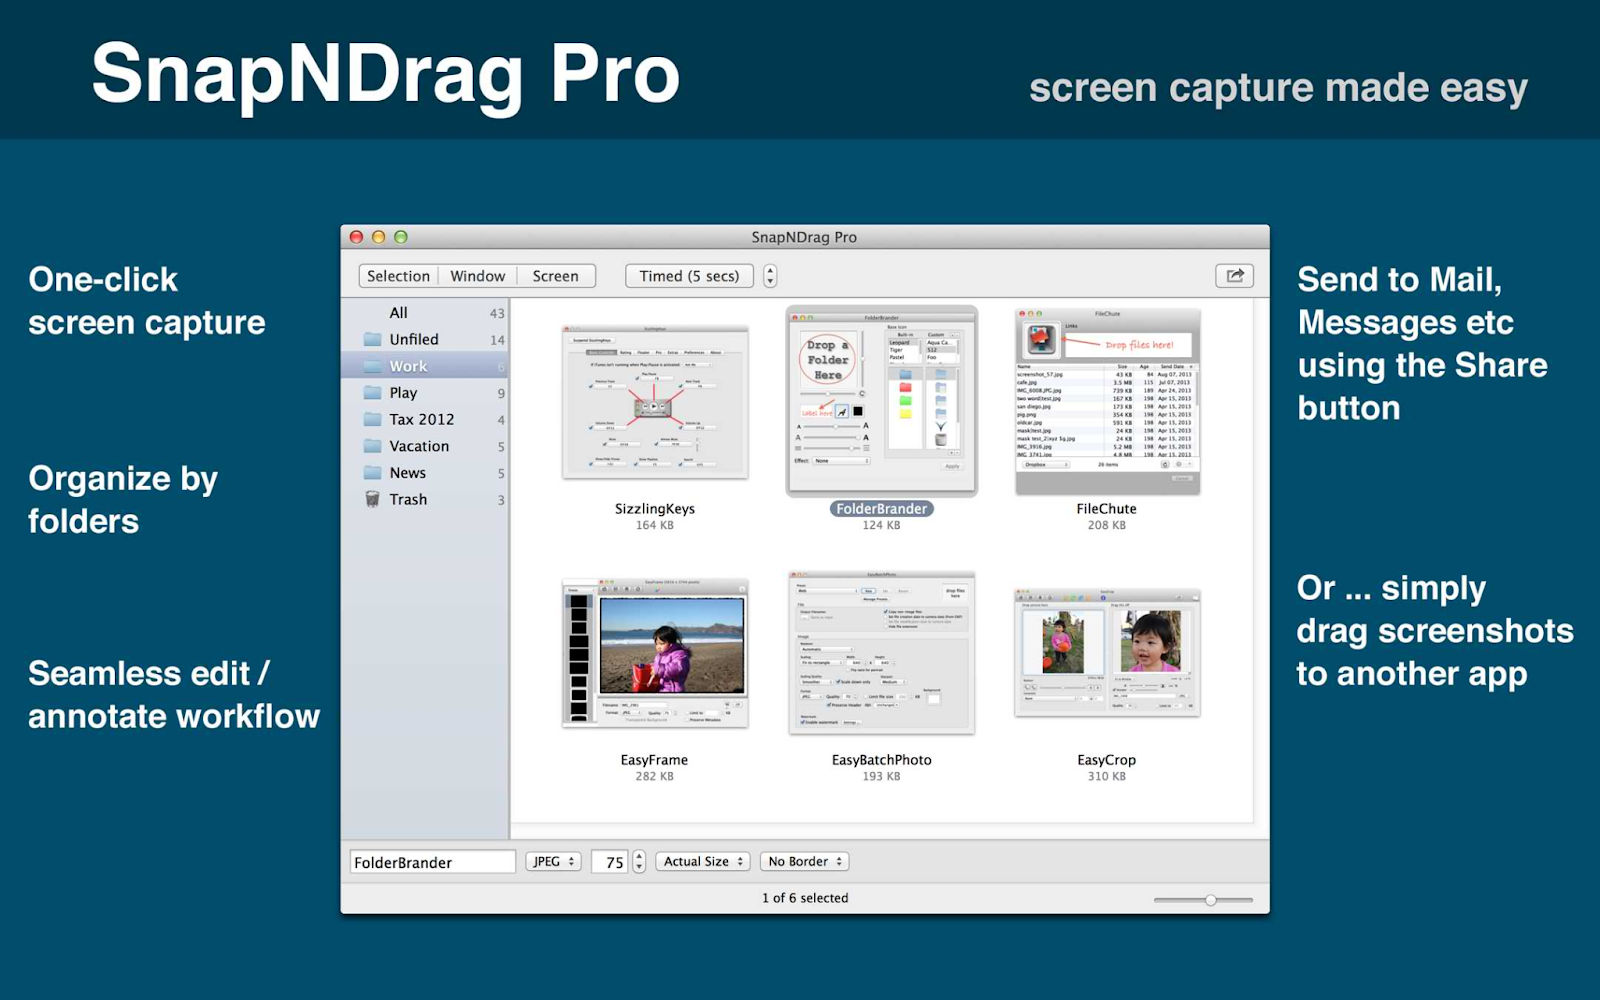
Grab a snapshot of the entire screen, a window, or a section of the screen without worrying about key combinations. As with many of the best snipping tools we’ve discussed, SnapNDrag offers a free version, which puts it in the running for one of the best free snipping tools.
However, the pro version offers many advanced features, including image resizing, mark-up tools, multiple output formats, custom hotkey shortcuts, and turning off adverts. All in all, SnapNDrag is easy to use, but the paid version offers far more options and features.
Pros
- Flexible capture options
- It doesn’t lose the original screenshot when annotating
- Customizable keyboard shortcuts
- Convenient capture preview and editing
- Option to choose image format and quality
Cons
- No direct integration with cloud services
- No video capturing
6. Greenshot: Best with an Integrated Editing Tool
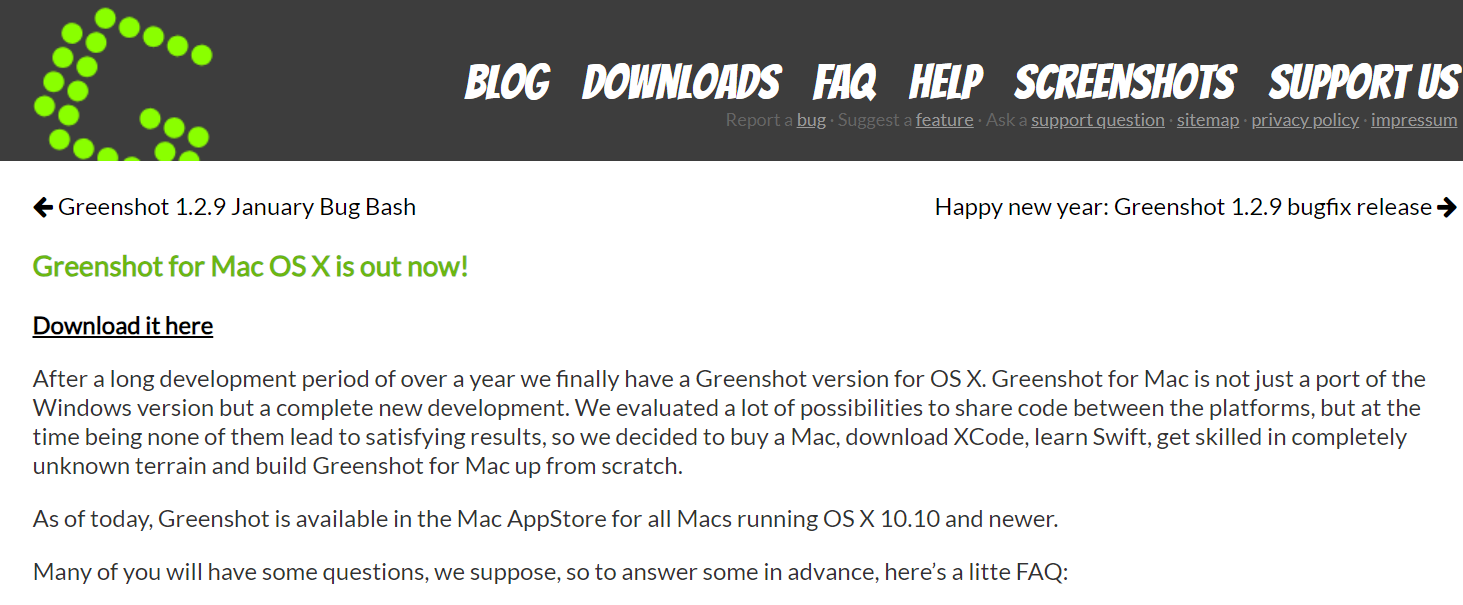
Greenshot was originally designed for Windows but has since released an excellent snipping tool for Mac. Users typically prefer the Windows version, but it is a contender for one of the best free snipping tools for Mac. With Greenshot, you can convert scanned images to common file types with its built-in Optical character recognition (OCR).
As with other best snipping tools, capture the entire screenshots, or select a region. As an able Mac snipping tool alternative, it can even capture full web pages without add-ons. Choose your image format (BMP, GIF, JPEG, or PNG), then use the built-in tools to mark it up or export it.
This built-in snipping tool includes useful features, such as hotkey combinations, and can be directly sent to several cloud-based programs. You can customize many default settings, including your hotkey combinations, for better functionality.
Ultimately, if you’re searching for the best free snipping tool for Mac, Greenshot is a free, open-source software available for both macOS and Windows.
Pros
- The built-in snipping tool features easy-scrolling screenshots or a quick screenshot
- Freezes screen when capturing
- Open source
- Can annotate, highlight and blur snapshots
- Allows customizing the hotkey shortcuts
- It does not take up too much memory space
Cons
- No scrolling capture
- Mediocre screenshot quality compared to other paid snipping tools
7. Droplr: Best for Privacy
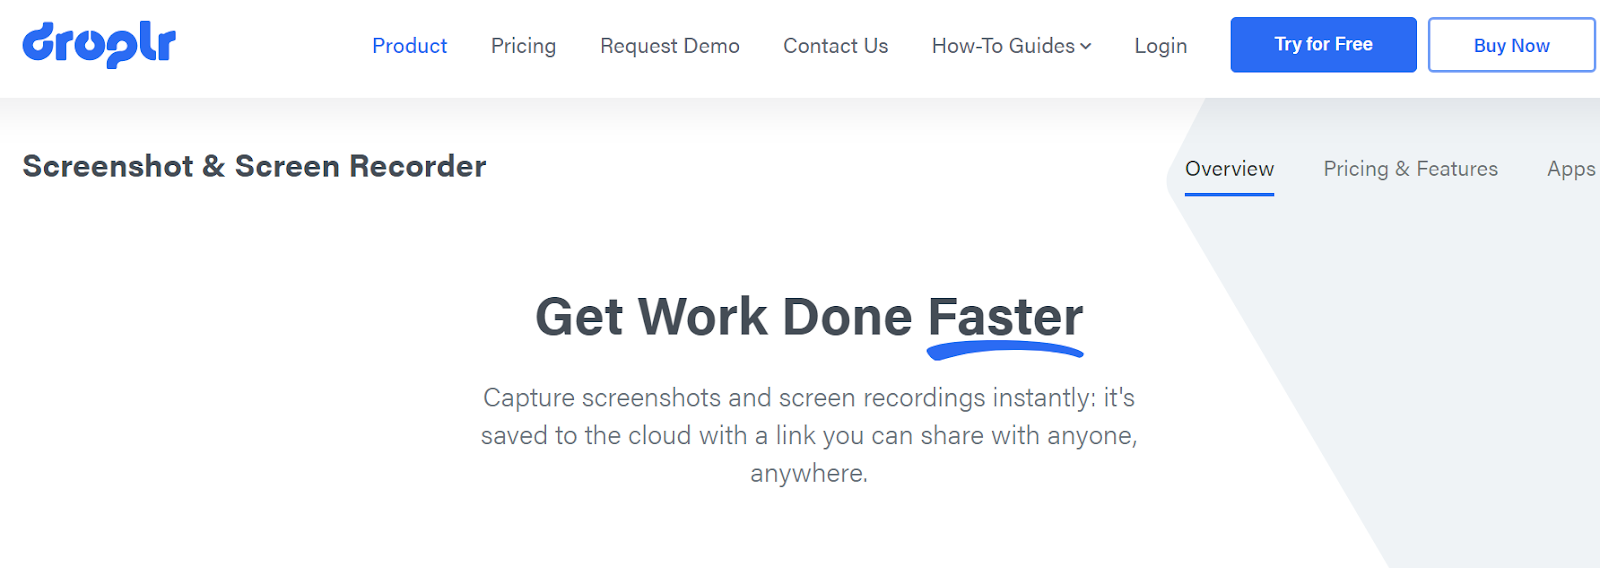
Capture your Mac screen with style and affordability using Dropl! It’s not just your ordinary screen capturer, it’s also a fantastic GIF maker that won’t cost you a dime. Plus, it saves all your precious captures directly to your cloud storage, making sharing a breeze with its special link feature.
With Dropl’s sleek online account, your screenshots are neatly organized into boards and tagged for easy navigation. Worried about privacy? Fear not! Droplr lets you customize access, granting or limiting it to specific users. When it comes to protecting your data, Droplr is a true champion. As one of the Mac snipping tools, it employs top-notch encryption and SSO to ensure your information stays secure.
But wait, there’s more! Droplr goes above and beyond by seamlessly integrating with many must-have apps like Intercom and Slack, making it a dream tool for professionals. So why settle for anything less if you are seeking one of the best snipping tools?
Pros
- 4K video screen-recording
- Integrates with many other tools
- It produces GIF files
- Premium add-ons
- It can record screen
Cons
- GIF customization is lacking
8. TextSniper App: Best for Optical Character Recognition

With its unparalleled text extraction capabilities, TextSniper revolutionizes how we capture information from images and screenshots. Whether you’re a business professional, content creator, or educator, this app is a game-changer for improving productivity and streamlining workflows.
Its advanced OCR technology sets it apart from other snipping tools on the market, making it the go-to solution for Mac users who require accurate and efficient text extraction from visuals. Its effortless text recognition feature is one of its most significant selling points.
The app also offers a range of impressive features, including panoramic shots for capturing web page scrolling and the ability to create dynamic videos using screenshots and audio.
With its user-friendly interface and intuitive controls, TextSniper is accessible to tech-savvy individuals and those less familiar with most of the best snipping tools for Mac.
Pros
- Can process JPG, PNG, TIFF, GIF, and other formats
- Text-to-speech option
- Can read links, QR codes, barcodes, etc
- Can extract text from ebooks and PDFs
Cons
- OCR is sometimes inaccurate on complicated symbols
9. Capto: Best for Creating Small Screen Recording
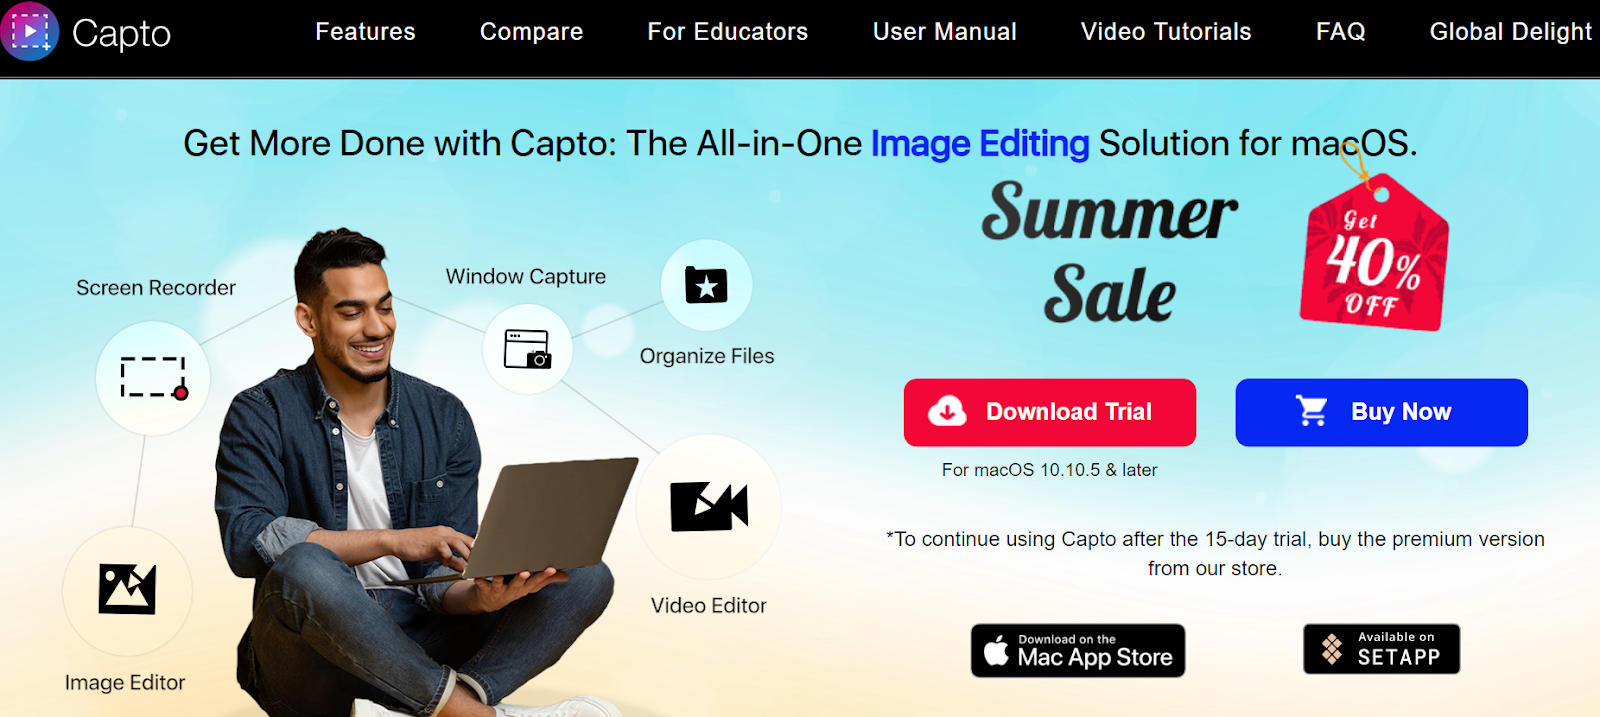
Capto, meticulously crafted for macOS, stands out as a snipping tool on Mac for seeking a comprehensive range of screen capture options. While it may not be free, you’re in luck with a generous 15-day free trial that allows you to experience firsthand the seamless integration of Capto with your workflow and the intuitive nature of its user interface.
Say goodbye to blurry recordings and welcome the brilliance of HD captures with crystal-clear audio, all at an impressive 60 frames per second.
Not limited to still captures, Capto’s video recording feature is exceptional, making it effortless to create tutorial videos that cater to various needs. Additionally, if you prefer to utilize external devices for recording, Capto seamlessly supports their integration.
However, the journey doesn’t end with capturing; Capto equips you with a powerful suite of editing tools to refine your recordings post-capture. With everything you need at your fingertips, editing videos becomes a breeze, allowing you to craft professional-looking content easily.
Pros
- It supports HD screen recording
- Various screen capture modes and sharing options
- Unlimited video length
- Cloud integration
- Easy sharing on social networks
- It comes with advanced editing tools
Cons
- Limited file support
- There are problems with handling larger media files
10. CleanShot X: Best for a Feature-rich Solution
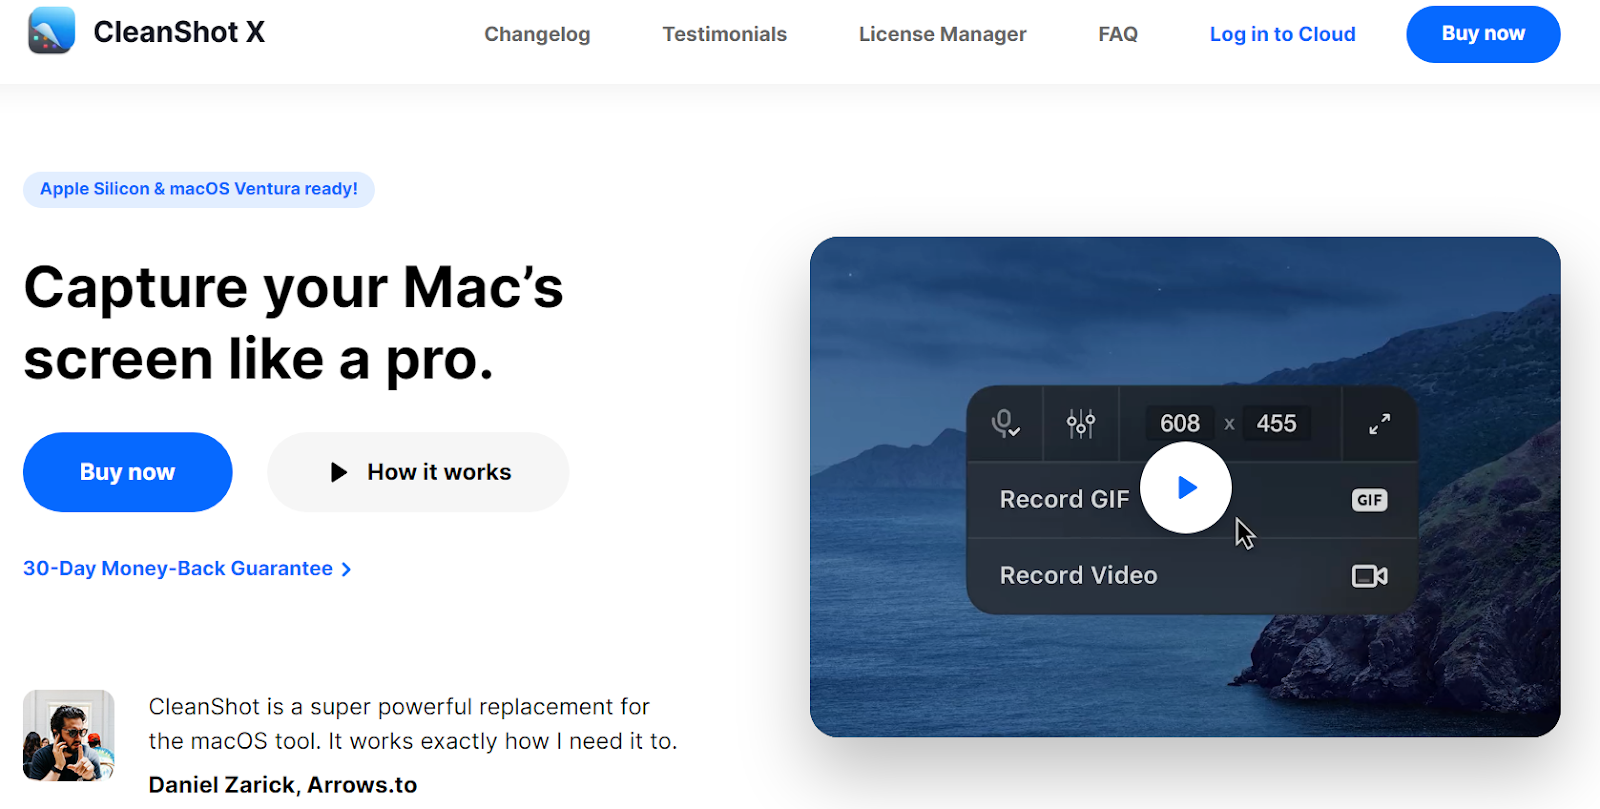
This remarkable app goes beyond mere screenshots, offering various features, including screen recording, text recognition (OCR), cloud integration, and much more. It’s an all-in-one solution for your visual needs.
When it comes to capturing your screen, CleanShot provides multiple options. You can snap an image of the entire screen, a specific area, a window, and even a scrolling window. The scrolling window feature is handy for capturing content beyond the visible screen, ensuring you never miss a single detail.
Pros
- Pixelate or blur parts of your images
- Combine multiple images without leaving the app
- High customizability
- Backup of your files to the cloud
Cons
- Limited cloud storage
What Features Does a Good Mac Snipping Tool have?
Several of the best snipping tools come with various features, including a screen recorder, mark-up tools, integrations, and more. Here are just a few things that you can do with a good snipping tool:
- Screen sharing with colleagues or friends
- Making GIFs
- Sending and sharing screenshots
- Mark-up and annotate images
- Recording important documents that you cannot be downloaded
- Making videos or tutorials
- Export and upload annotated screenshots or videos