Best Screen Recorder for Fast & Effective Communication
Share information quicker and with more context and clarity using the best free screen recorder available for Mac, Windows, Chrome and iOS. Record your full screen or just a part of it and share it instantly via url.
Don’t Just Say It, Show It With A Screen Recording
Add context and clarity to your communications by recording and annotating your screen without the time commitment and hassle of scheduling a meeting or another “quick sync.”

Communicate intricate instructions in seconds.

Avoid wordy chat and email threads.

Increase team collaboration and productivity.

Improve alignment and understanding.
How To Record Your Screen with Zight
Zight offers multiple ways to record your screen in a few simple steps.
Record In A Few Simple Steps
1. Download & Install Zight
If you haven’t already, sign up for Zight (up to 5 minute recordings are FREE) and download the screen recording software application for your Mac, Windows or iOS device or install the extension for Chrome.
2. Launch Zight
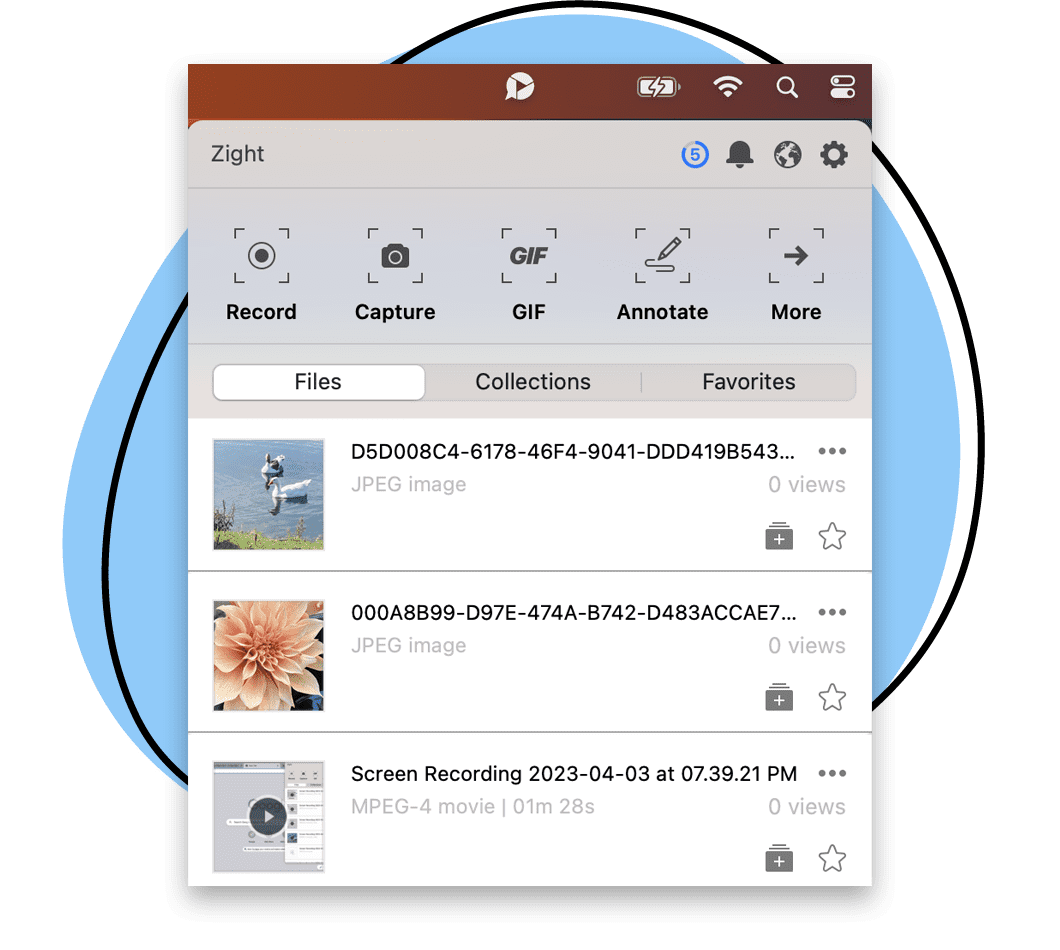
Once you have Zight installed, simply launch the app from your applications or toolbar. Click on the application icon and choose the Record option.
3. Choose Your Screen Recording Options
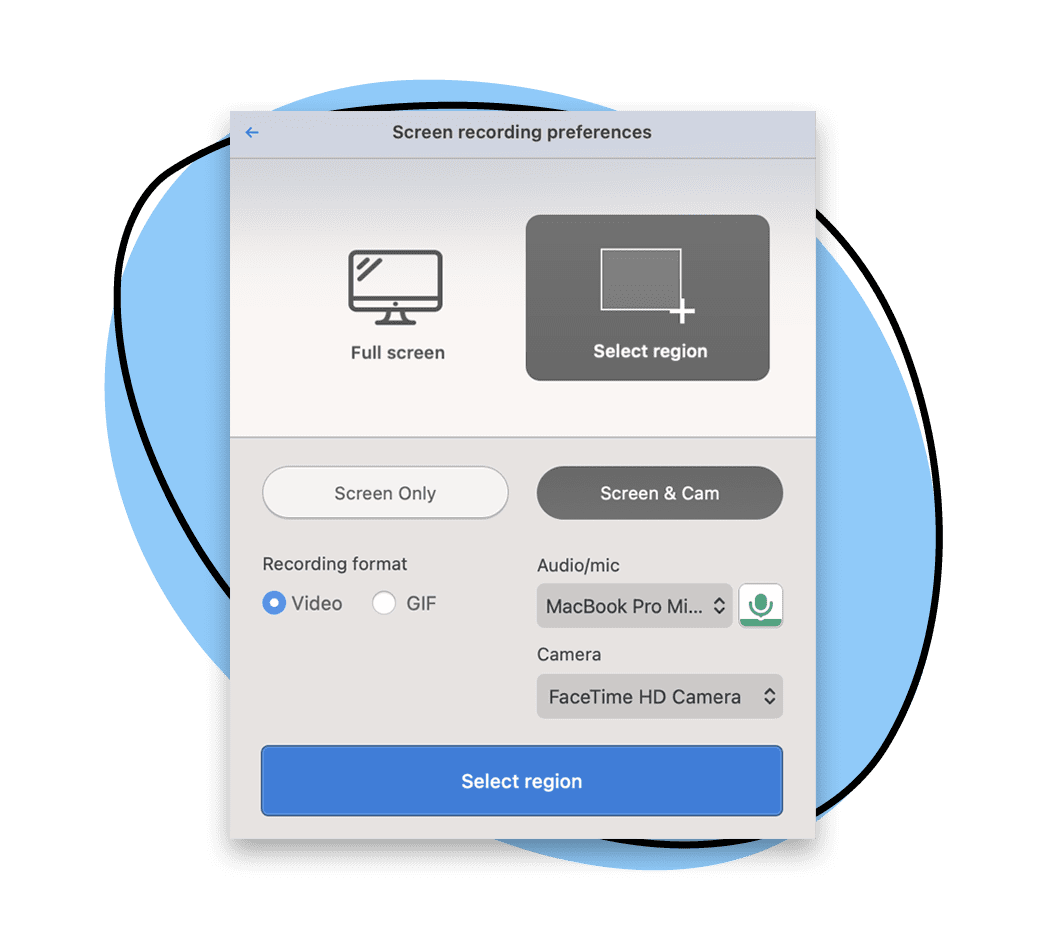
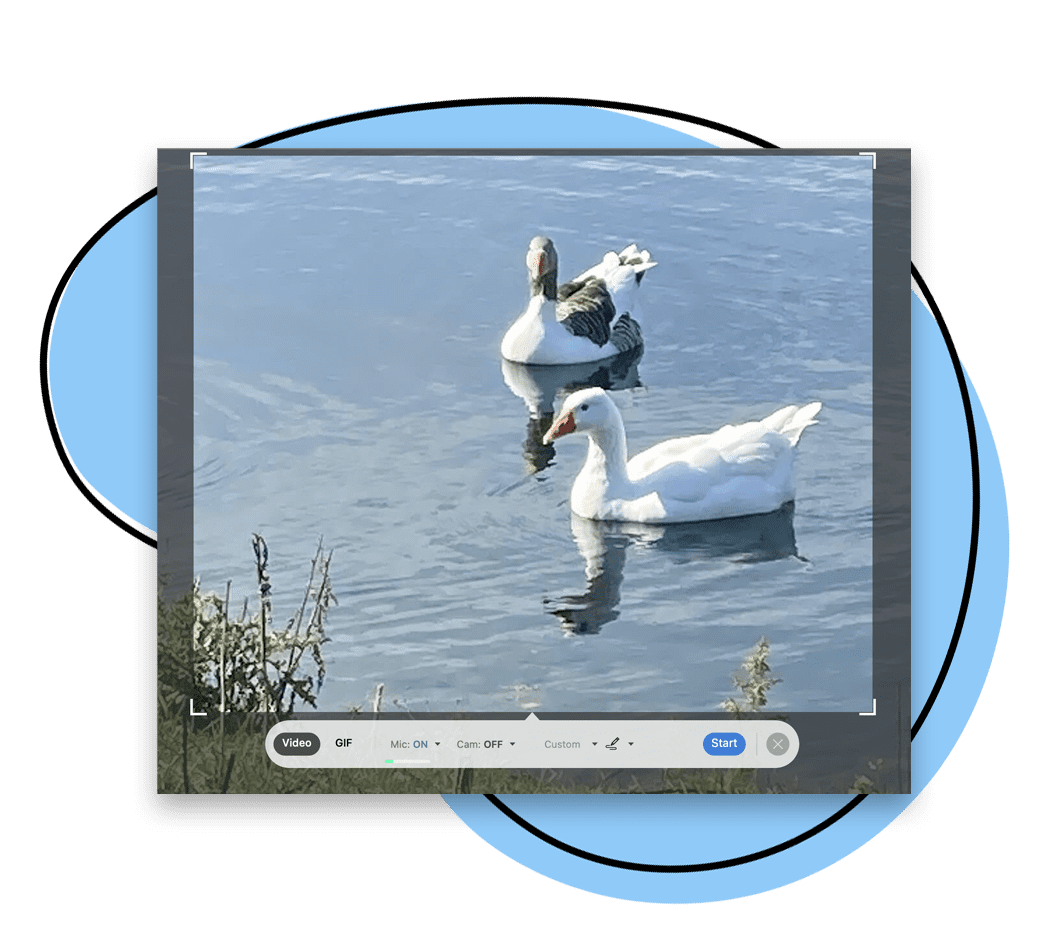
From the Record menu, select your video capture preferences. You can choose to record your full screen activity, or record only a part of your screen and if you want to record just your computer screen or include a cam overlay. You can also select your recording format of a video or gif and choose your audio/mic and webcam video preferences
4. Start Recording
After you have chosen your preferences, click the “Start recording” button. A count down prompt from 3-2-1 will show and then your screen recording will begin. The tool bar will show you a recording timer and provide additional options to annotate, pause or finish your recording.
5. Finish & Edit Screen Recording
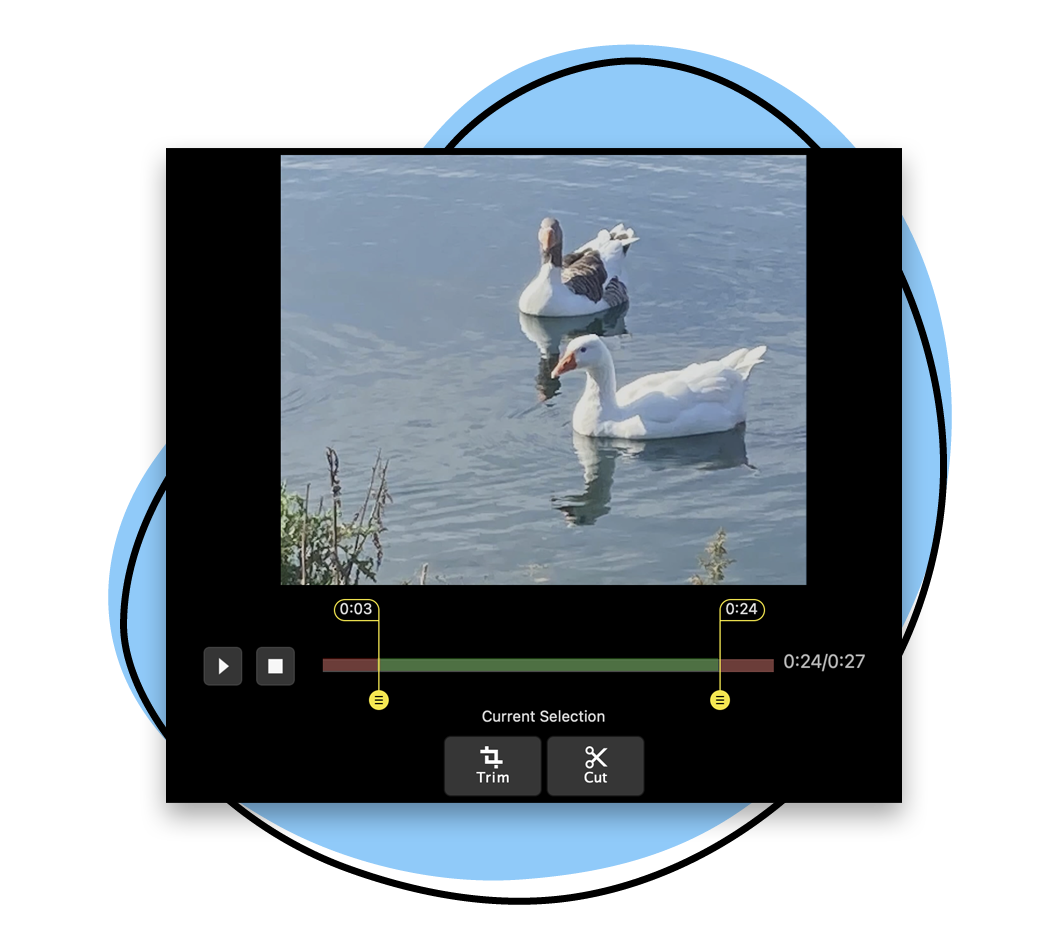
Once you click the “Finish” button, your recording will automatically process and present you with video editing options to trim or cut if needed.
6. Easily Share via URL
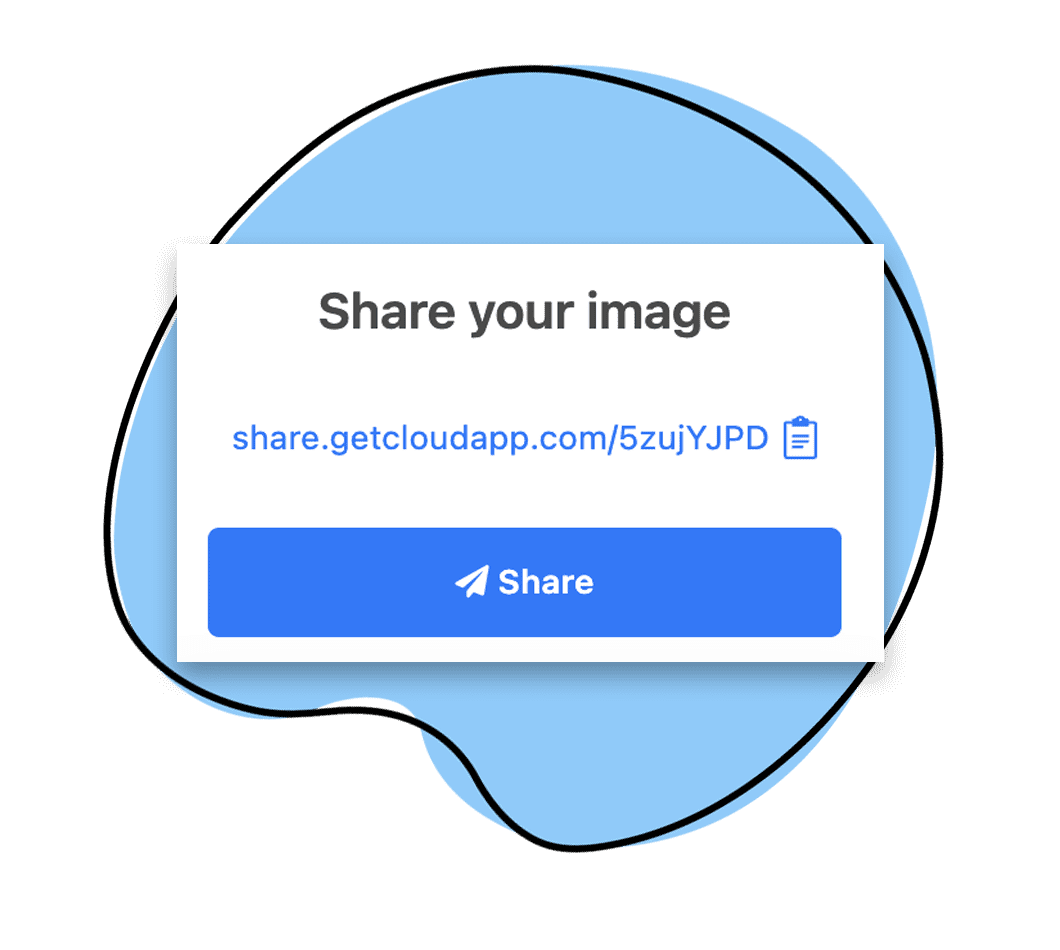
Your video recording is now available in your Zight files. Keep it for yourself or easily share it via an autogenerated link anywhere you can share a url. You can also drag and drop items into emails and chat apps.
- Screenshots, recordings, and GIFS
- Annotate with arrows, lines, and blur
- Instantly share with a link
Integrates to Work Where You Work
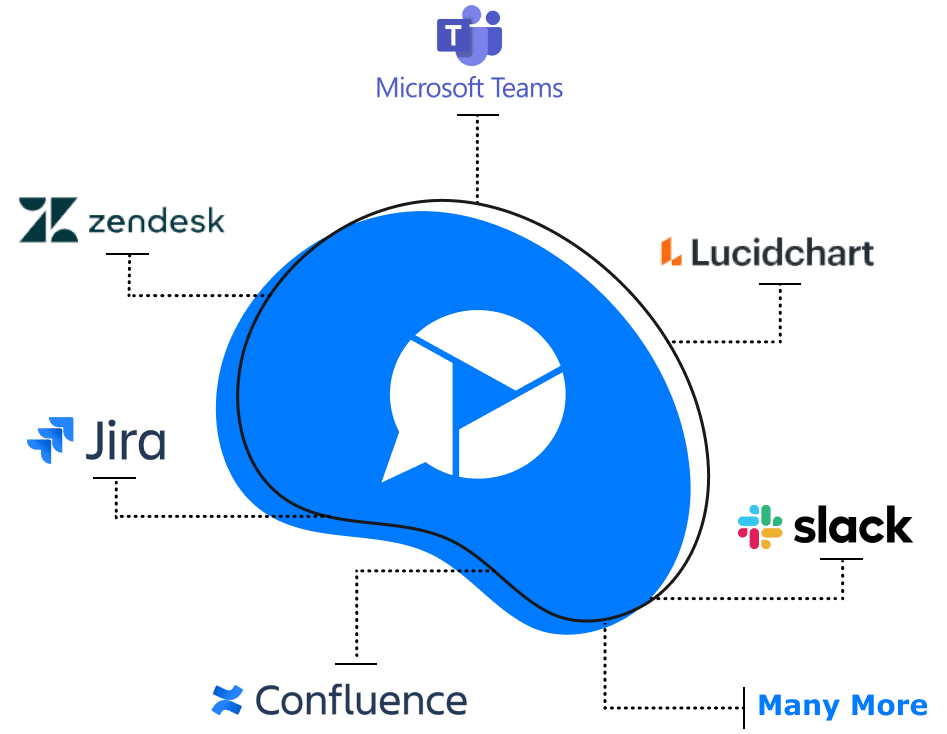
Zight screenshots can be shared wherever you can share a link and integrates directly with your favorite apps including:
Explore Other Zight Features
Explore other Zight features, like screen capture, gif-making and file sharing by clicking the buttons below.


Our Customers Love Us
Best. App. Ever. You’ve made supporting customers and training newer members of the team remotely so easy and simple.
Janice Burch, Customer Support | BaseCamp
I’m a big fan and have used it daily for many years now.
Mark DiCristina, VP of Marketing | Mailchimp
It lets us pinpoint what texts we're talking about, what part of the UI needs to be changed. And just, cut out a lot of that back and forth in between.
Christine Yen, Founder | Honeycomb
Frequently Asked Questions
Communication challenges can be a hindrance to anyone. It is common in our day to day lives to try and explain an issue, describe a product feature or convey a complex idea and finding the right words can be difficult. Using a screen recording can help illustrate your points better, it enables you to show what you mean in addition to being able to explain it verbally.
Additionally, some context or nuisance of explanations may get lost when the message is repeated across multiple people. Screen recordings are effectively used when, you need to explain a complex idea and want to illustrate with visuals or highlight a key point, for regular status updates or presentations with someone it may be hard to connect with live, to help troubleshoot a technical or support issue with a customer, enhancing documentation and tutorials and so much more.
Check our use cases page for more ideas on how you can use an online screen recorder to become more productive and communicate better.
Yes. Zight offers a free plan that’s great for the occasional quick project. Our free plan allows for recordings of up to 5 minutes. You can find out more about the features available on our different plans, visit our Plans Page.
While Zight has a free screen recorder plan available, paid plans vary based on plan type and number of users. The Pro Plan is available for $9.95 per month, Teams plans are $8.00 per month with a minimum of 3 users, and custom enterprise plan quotes are available. You can speak with someone on our sales team if you would like to learn more about Enterprise pricing Contact Sales here.
Yes. Zight screen recording is available for multiple operating systems. We support the following operating systems:
- Mac
- Windows
- Chrome
- iOS
Zight is available for Mac, Windows, Chrome and iOS. Zight supports Windows 10 and up as well as MacOS BigSur (11.0) and up.
Screen recording is used to capture and record the activities happening on your computer, laptop or mobile device’s screen. A laptop screen recorder or fast screen recorder is commonly used for creating video tutorials, game recording, creating YouTube videos, demonstrating software features, troubleshooting, and sharing visual content with others.
To record your screen and screen audio , you can use a live screen recorder tool like Zight. Follow these steps:
- Download and install live screen recorder Zight on your computer or mobile device.
- Launch the Zight application.
- Adjust the recording settings according to your preferences, such as selecting the desired audio source.
- Click on the record button to start capturing your screen and audio.
- Perform the actions you want to record.
- Click on the stop button to end the recording.
- Zight will automatically save the recording, and you can then edit, annotate, and share it with others.
To screen record your phone screen, you can use Zight’s mobile application. Follow these steps:
- Install the Zight screen recorder mobile application from your app store (available for iOS and Android).
- Launch the Zight app on your phone.
- Open the screen or app you want to record.
- Swipe up from the bottom of the screen (iOS) or swipe down from the top of the screen (Android) to access the control center/notification center.
- Tap on the screen recording icon in the control center/notification center (the icon may vary depending on your device).
- Follow the on-screen instructions to start the screen recording.
- Perform the actions you want to record.
- Once you’re done, stop the recording by tapping the screen recording icon again.
- The recording will be automatically saved to your Zight account, where you can also share it.
To record your screen on Google Chrome, you can use the Zight Chrome extension. Follow these steps:
- Install the Zight Chrome extension from the Chrome Web Store.
- Click on the Zight extension icon in your Chrome browser toolbar.
- Sign in to your Zight account or create a new one if you don’t have an account.
- Click on the screen recording option in the Zight extension menu.
- Adjust the recording settings if needed.
- Click on the record button to start capturing your screen.
- Perform the actions you want to record.
- Click on the stop button in the Zight extension to end the recording.
- The recording will be automatically uploaded to your Zight account, where you can edit, annotate, and share it.
To record your screen in Windows 10, you can use the Zight screen recorder windows free desktop application. Follow these steps:
- Download and install the Zight desktop application for Windows 10.
- Launch the Zight application.
- Adjust the recording settings according to your preferences.
- Click on the record button in the Zight application to start the screen recording.
- Perform the actions you want to record.
- Click on the stop button in the Zight application to end the recording.
- The recording will be automatically saved to your Zight account, where you can edit, annotate, and share it.
To record your screen on your laptop, you can use the Zight desktop application. Follow the instructions provided in the previous answer for your specific laptop’s operating system (e.g., Windows 10, macOS).
The shortcut to record your screen on a laptop may vary depending on the screen recording tool you are using. In the case of Zight, the shortcut to start a screen recording on a laptop is typically the combination of the “Ctrl + Shift + 9” keys. However, it’s essential to check the documentation or settings of the specific screen recording tool you are using for the correct shortcut.
To set up screen recording using Zight, follow these general steps:
- Visit the Zight website and sign up for an account.
- Download and install the Zight application for your specific device or operating system.
- Launch the Zight application and sign in using your account credentials.
- Customize your screen recording settings, such as audio source, video quality, and storage preferences, within the application’s settings menu.
- Ensure that you have granted necessary permissions to the application to access your screen, audio, and other relevant resources.
- Once the setup is complete, you can use the designated keyboard shortcut or the application’s interface to start and stop screen recordings.
Zight is a popular tool used for screen recording. It offers a comprehensive solution for capturing and sharing screen recordings seamlessly. Zight is great for a stream screen recorder and to aid when you need to record screen for YouTube. However, there are other screen recorders available, such as OBS Studio, Camtasia, and Snagit, which also provide robust screen recording features.
To record your iPhone screen with sound, you can utilize the built-in screen recording feature of iOS. Follow these steps:
- Open the Control Center on your iPhone by swiping down from the top-right corner on iPhone X or newer, or swiping up from the bottom of the screen on older iPhone models.
- Tap on the screen recording icon, which resembles a circle within a circle.
- If you want to record with sound, long-press or 3D Touch (depending on your device) the screen recording icon.
- Enable the “Microphone Audio” option from the control center options.
- Tap on “Start Recording” and wait for the countdown.
- Perform the actions you want to record.
- To stop the recording, tap on the red status bar at the top of the screen or go back to the Control Center and tap on the screen recording icon again.
- The recorded video with sound will be saved in the Photos app on your iPhone.
If you’re looking for how to record iPhone screen free, the answer is yes, iPhones have a built-in screen recording option. With iOS 11 or later versions, you can easily access the screen recording feature from the Control Center and use it to capture your iPhone screen activities. Additionally, apps like Zight can be downloaded as a free screen recorder mac and iOS to capture screen recordings and automatically save and share them.
To screen record on a Mac, you can use the built-in screen recording feature called “QuickTime Player.” Follow these steps:
- Open the QuickTime Player application on your Mac. You can find it in the “Applications” folder or by using Spotlight search.
- In the menu bar, click on “File” and select “New Screen Recording.”
- A screen recording control bar will appear on your screen.
- Click on the red record button within the control bar to start the screen recording.
- You can choose to record the entire screen by clicking anywhere on the screen or select a specific area to record by clicking and dragging the cursor.
- To capture audio recording during the screen recording, click on the small arrow next to the record button and choose the desired audio input.
- Once you’re ready, click on the record button
If you prefer an alternative to QuickTime for screen recording on your Mac and are searching for a screen recorder mac download, you can use Zight, a screen recorder with timer. Here’s how:
- Visit the Zight website and sign up for an account if you haven’t already.
- Download and install the Zight desktop application for Mac.
- Launch the Zight application and sign in using your account credentials.
- In the Zight menu bar, click on the Zight icon.
- Select “Record Screen” from the dropdown menu.
- A recording control bar will appear on your screen. Adjust the recording settings, such as audio source and camera recording quality, as needed.
- Click on the red record button in the control bar to start the screen recording.
- Perform the actions you want to record.
- To stop the recording, click on the stop button in the control bar.
- The recording will be automatically uploaded to your Zight account, where you can edit, annotate, and share it.
Yes, you can screen record on a Mac with sound using Zight. When you start a screen recording using Zight, it captures both video and audio by default. Simply follow the instructions provided earlier for screen recording on Mac using Zight, and the audio from your system will be recorded along with the screen.
To record your screen on your website, you can embed a screen recording tool like Zight directly into your website. Zight provides an API and widget that you can integrate into your website for seamless screen recording. By doing so, your website visitors can use the embedded tool to capture and share their screen activities. To set this up, you can visit the Zight website, explore their API documentation, and follow the instructions to integrate the screen recording functionality into your website.
