You might know how to take a screenshot and a screen recording, but are you familiar with all the CloudApp tips and tricks? Watch Kat, our Zight Expert give a quick demo of all our powerful features.
Don’t feel like watching the video? No problem. Scroll down below the video for a written guide. Don’t worry, the written section covers the same things.

Are you looking to supercharge your productivity and communication skills? You can use Zight to improve communication, collaboration, and even creativity.
The all-in-one screen recording platform has evolved significantly since its early days as CloudApp. And if you are a MacBook user, this comprehensive guide will turn you into a Zight pro in no time!
Let’s see how you can leverage Zight to streamline your workflow, enhance your brand, and build stronger connections in the digital age.
What Can You Do With Zight?
You can use Zight for:
- Screen capture
- Screen recording
- GIF creation
- Webcam recording (GIF webcams for email signatures? Yes, please!)
- File sharing
To start using these features, click here to create an account, then download and install Zight on your MacBook. You can also get the Chrome extension.
1. Shortcuts
Here are some Mac shortcuts you can use with Zight:
- Shift + Command + 5 for screenshots
- Shift + Command + 6 for video and webcam recording
- Command + C to copy Zight links
- Command + V to paste Zight links
- Command + D to download Zight files
2. Annotations
Zight is your visual work communication tool, so it only makes sense you can use it to improve communication. So, it makes sense you get the best annotation features for screenshots and videos. Annotations make your content stand out, allowing you to leave instructions or guidance to your file recipients.
Here is how to annotate:
I. Annotating Screenshots
To create a screen capture, open your Zight app or Chrome extension and click Capture. Alternatively, you can use Shift + Command + 5. You can capture your entire screen or select a region of the screen you want to capture. You can annotate your screenshot as follows:
- Click the annotate button.
- Select the elements you want to add to the screenshot. You can add text to leave instructions or other elements like arrows and lines to draw the viewer’s eye to the important parts of your screenshots.
- If you want to add text, you can choose the font style, size, alignment, and color. In addition, you can also choose the fill color and line color for your text box and the text text line height.
- If you want to add elements like shapes and highlights, you can also choose the fill color, like the color and size of the element. You also get more options with the arrow where you can choose different arrow designs, including different starts and ends.
II. Annotating Videos
Click the Record button or Shift + Command + 6 to record a video. You can record your screen only, screen and webcam, or webcam only. In addition, you can record a full screen or partial region. Once you start recording, you can start annotating your video as you record it:
- Click the pen-like feature on your screen to open the available annotation elements. These include an arrow, line, ellipse, rectangle, pen, and highlighter.
- Before you select your element, you can choose its fill color and duration. The latter is important when you want to bring attention to a part of your video as you discuss it verbally.
3. File Sharing and Embedding
After creating and annotating your files, you can share them through various platforms like email, websites, YouTube, and more. Here’s how:
- You can drag and drop files from your Zight app to your email draft or productivity apps like Slack, Trello, and Jira.
- You can embed files to upload them on websites. To do so, open the file you want to use from your dashboard and click Share. You can send it to social media platforms or use an embed code. Click the embed icon and copy the code. Then, show or hide the file’s title and branding when you paste the embed.
- Want to send files as attachments? You can download them to your computer storage or use Command + D, then attach them to your emails or messaging apps before sending them to recipients.
You can also set how you’ll copy your files for sharing. Go to your app and Click Settings. Then, click General and navigate to When Item Is Ready. There, you can choose between these options:
4. Expiring Content
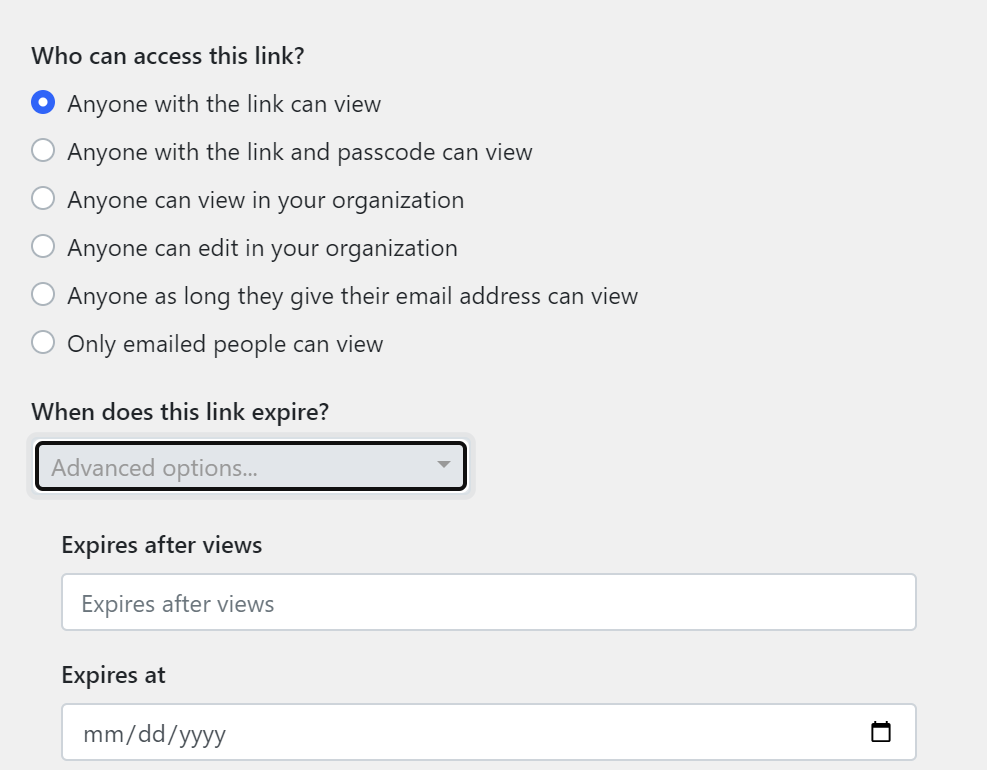
You can choose who can see your files and if they expire before sharing them. This Snapchat-like feature is accessible from your dashboard.
- Open the file you want to share, then click Share.
- Click the edit button under ‘Anyone with the link can view’ and choose from the options. In addition, set when the file expires – it can be after some views or at a particular date.
5. Customization

Don’t want to share content featuring Zight branding? Totally okay! You can customize your account for your brand if you are on a Pro, Team, or Enterprise account.
Go to your dashboard and select the file you want to share. Then, click your account icon, then Settings, and Customize. Here, you can upload your brand logo. Also, if you want to send customized links, you can redirect the URL to read your domain rather than Zight’s.
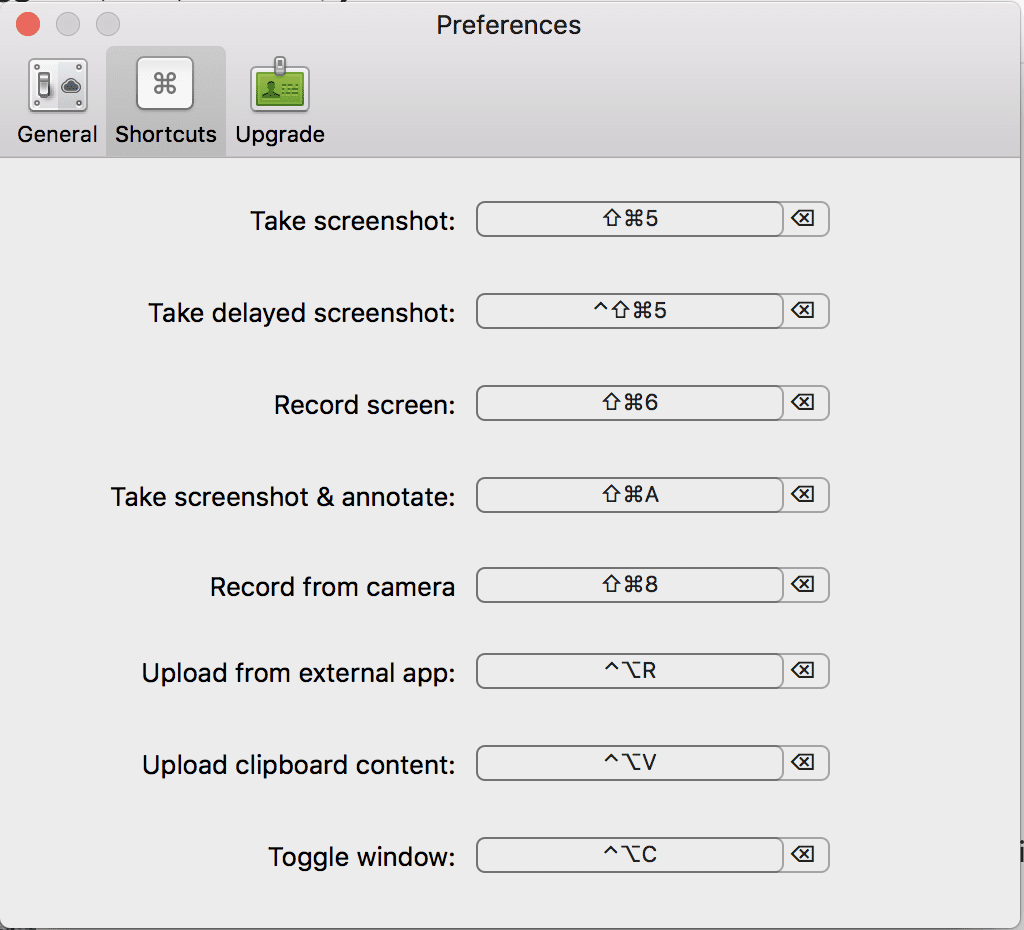
Besides file sharing, you can customize other features for your MacBook, including shortcuts. Just head to your Zight app, click Settings and Shortcuts. Then, set your preferred shortcuts for any Zight function.
6. Integrations
With good communication comes better productivity! Since Zight aims to help you with both, it integrates seamlessly with the software you may already use. These include;
- Zendesk
- Salesforce
- Trello
- Jira
- Zoho
- Slack
- Microsoft Teams
- Confluence
- LucidChart