The discussion between low-fidelity vs. high-fidelity prototyping is an on-going debate. Low vs high fidelity prototype evaluation should be based on how much your prototype needs to resemble the final version of your product in order to accurately test it. Knowing what you are trying to accomplish will help provide a structure or a guide to prototype fidelity.
Keep in mind that it’s all about trial and error. It’s an iterative process that typically requires several stages of revisions and is intended to test whether or not the implemented solutions have been successful. It doesn’t make sense to produce a finished product for the users in the beginning, so it’s important to evaluate the level of details and functionality required for your prototype. With that, you can decide what kind of prototyping fidelity you require.
Low-fidelity vs. high-fidelity prototyping
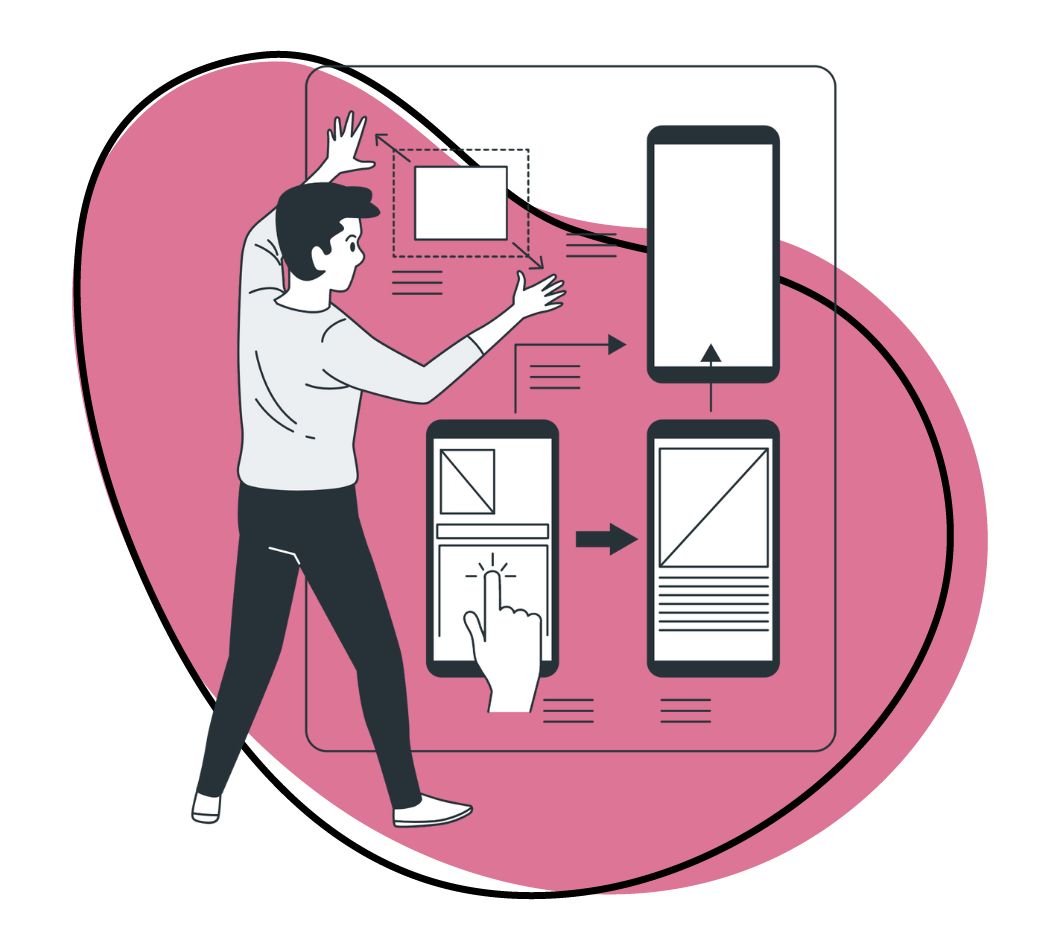
Prototypes are a great way to explore problems, ideas, and opportunities within a specific area of focus. They can reveal invaluable insights and experiences that can inform innovative design decisions. By creating a concrete version of your idea, you can observe how your target market physically engages with it, and see exactly what is working and what isn’t. Understanding the problem your users face when interacting with the product in the intended environment will ultimately lead to better products and designs. But then, how do we create a prototype?
The goal is to quickly convey the look, feel, and functionality of your design. Typically it’s recommended to create low-fidelity prototypes, but as part of developing a guide to prototype fidelity, it’s important to weigh the pros and cons of low-fidelity vs. high-fidelity prototyping.
Consider prototyping in the form of:
- Low-fidelity prototyping
- High-fidelity prototyping
Low-fidelity prototyping
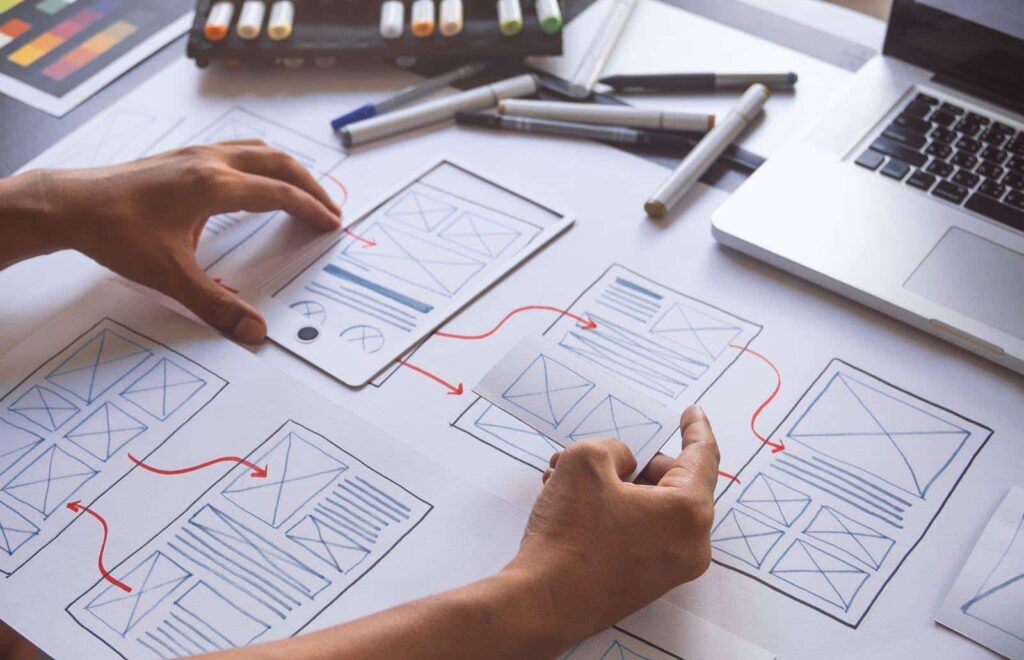
Low-fidelity prototyping is intended to provide you with a basic model, or visual example, of the product or design you’re producing. A low-fidelity prototype will be an incomplete version that will likely utilize a limited number of its intended full range of features. It can quickly be constructed using materials such as wood, paper, or metal, or other materials as such that are not intended to be used for the finished article.
Typically speaking, when you design a low-fidelity prototype, you can expect them to be an inexpensive, quick and simplified version of what the final product will be. Some examples of low-fidelity prototyping include:
- Mockups
- Simulations
- Process sketches
- Storyboards
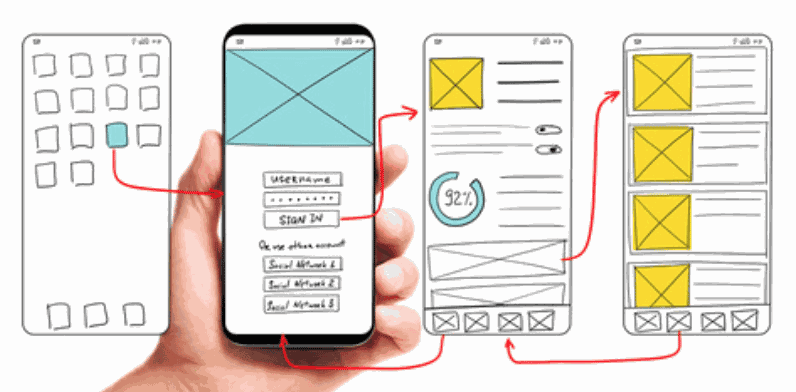
These quick and inexpensive variations allow for easier changes, to test new iterations, and really encourages design thinking. However, it’s important to consider what you’re prototype is meant to test. A low fidelity prototype might mean that not every page is linked, clickable, or interactive, as with a low fidelity you’re meant to spend more energy on ideation. It’s also far easier to redo part of a design based on customer comments in real-time, while gathering customer feedback on your low-fidelity prototype.
Depending on your product, a basic version may not accurately reflect the nature, appearance or feel of the finished product. As a result, it might not reveal anything of real value of the eventual user experience. If this is the case, a low-fidelity prototype may not be appropriate for your intended users. You may want to consider how to create high fidelity prototype instead.
 High-fidelity prototypes are designed to look and operate similarly to the finished product.
High-fidelity prototyping
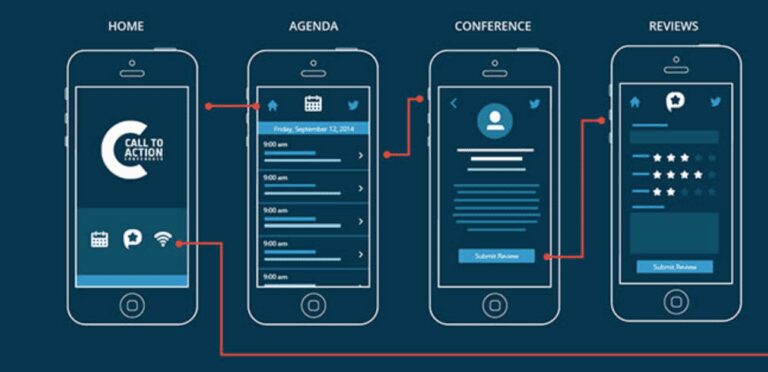
High-fidelity prototypes are designed to look and operate much like the finished product. This may be a 3D plastic model with movable parts, which lets users manipulate and interact with the prototype just as it would with the final product. The advantage of information high-fidelity prototyping is that it provides designers with a high level of validated and applicable feedback.
When a prototype more closely resembles the intended finished product, it gives you a greater sense of how the end-user will respond to, interact with, and perceive the final design or product. The greatest disadvantage of high-fidelity prototyping is the time and cost required to create, and to make changes to. Consider focusing on a single component, such as flow, visuals, engagement, or navigation during high-fidelity prototyping. This allows you to get more detailed feedback on specific elements that would otherwise not be possible with a low-fidelity prototype.
One of the greatest benefits of high fidelity prototype evaluation is that users are more direct and critical with their feedback. Users often give the benefit of the doubt when dealing with a low fidelity prototype, which can cause you to overlook specific issues.
When interacting with high fidelity versions, users evaluate them critically against their current context and needs. Since it appears to be more like the finished product, users get a better sense of the real feel for the product. They are more likely to call attention to any “bugs” in the prototype when it doesn’t work as expected. This helps gives you and your team a better glimpse into how people think they should use it. As a result, it can help better identify new opportunities and better solutions that you and your team can immediately incorporate into the finished design or product.
 Consider starting with low-fidelity prototyping then high-fidelity prototyping during later stages.
A guide to prototype fidelity
Typically speaking, it makes sense to start with low-fidelity prototyping first, and then to move onto high-fidelity prototyping during the later stages. Getting into more detailed and high-fidelity prototypes when you’ve refined your design, based on research and feedback, is a good rule of thumb.
Keep the following in mind when you’re wondering how to create high fidelity prototype, or if you’ve decided to design a low-fidelity prototype:
Build it
You’re going to have uncertainties about your design until you build it and work out the kinks. The only way to overcome the uncertainty and inevitable problems is to build it. Don’t waste time getting hung up on aspects that you haven’t fully worked out yet. Your prototype is meant to help solve those problems. Once you’ve created the first prototype, you can begin to see your idea and solution in a concrete structure. With this, you can gain insights that will lead to improved solutions and a better design.
Speed and simplicity
Prototyping is all about speed and simplicity. If you invest a lot of time and resources into building your prototype, you increase the risk of becoming emotionally attached. This can hinder your ability to objectively judge it, and accept constructive feedback. Don’t get hung up on
Focus on the end-user
The crux of a good design revolves around understanding the end-user and providing a solution to a problem they are experiencing. Testing the prototype against your expected user behaviors and user needs will help you identify gaps between the expected results and the reality. From there, you can learn from the gaps to improve your end product or design.
Focus on the solution
It’s important to note when designers are working closely on a project, they may be too close to recognize what needs to be improved. The solution could be right in front of your eyes, but you might not be able to pinpoint it.
Make sure you have a central purpose and then keep that in mind when you build your prototype. It’s important not to lose sight of the purpose, but it’s also important to maintain an open mind. By balancing these two forces, you will build prototypes that are designed to solve a specific problem, but remain open to other lessons and insights it may bring to light.
The results generated from testing the prototypes are crucial. Prototypes are the tangible results based on the data you’ve collected during the first three phases of the design thinking process. They are meant to help you avoid costly mistakes, eliminate weak ideas or solutions early on, and narrow in on solving your end-user challenges in an applicable and appropriate way.
Low vs. high fidelity prototype evaluation: fail fast, fail often
After you’ve investigated several problems and you’ve come up with a number of solid solutions from the end-users point of view, it’s time to select a solution that appears to have the greatest potential. It’s important to reiterate that it’s not about designing a finished, high-resolution product. Rather, it’s about designing a prototype that can be manipulated and adjusted throughout the testing process.
With that in mind, be cautious of falling into the pitfall of becoming discouraged and feeling like prototypes are a waste of time if they fail. Reframe the idea of failure into a learning mentality. That will also help you remain objective, eliminate becoming too emotionally attached, and just build the prototype without hesitation or worry. When you view prototypes and tests as learning opportunities, the results will provide you with more informed feedback that you can use to improve the next prototype.
Since everything we design should always be designed with a user’s experience in mind, it makes perfect sense to get feedback from their hands-on experience. Whatever you choose, just ensure it makes the most sense for your users and that you remain objective enough to measure the success or pain points of the real users’ experience.
So, just start building and don’t spend too much time on the prototype as they will undergo a lot of changes during and after you’ve tested them. And above all, remember what you’re testing for and who you’re designing for to avoid becoming too emotionally attached or bias.
A guide to prototype fidelity testing
After you’ve weighed the pros and cons of low-fidelity vs. high-fidelity prototyping, it’s time to test your prototype. Typically users are asked to complete tasks, while being observed. The facilitator’s observations will help gain insight into where the user encounters problems or experiences confusion. If several people encounter the same problems, it’s safe to say those are the aspects that need more work.
A guide to prototype fidelity testing:
- Ask your users to externalize thoughts and feelings while they interact with the prototype
- Create a realistic environment where distractions are not eliminated
- Takes structured and unstructured notes including what you see, hear, and the time they spend on a task
- Make sure you record the session
- Don’t explain or name specific buttons, elements or concepts
- Don’t guide or help the participant perform the task
- Remain objective throughout and avoid jumping to conclusions
The most important thing to keep in mind is our perceived notions and ideas about what we think is a good user’s experience isn’t the purpose of prototype fidelity tests. A successful test taps into how the user perceives the solution. If a user doesn’t understand something without an explanation, then you need to consider a solution that will address that issue through your design.
Simplify your design thinking prototype stage with Zight (formerly CloudApp)
Whether you’re designing a low-fidelity or a high-fidelity prototype, Zight (formerly CloudApp) is a great tool for instantly sharing your prototype with others and getting invaluable insight based on direct input and real user interaction.
With Zight (formerly CloudApp)’s screen recorder, simply share your screen recording, and get user feedback to improve your design in any phase. This feature gives you the option to test your prototypes remotely, and can be moderated or unmoderated. Simply share your screen recording, and get user feedback to improve your design in any phase without having to upload to a third platform. Once you complete your video capture or webcam recording, a link is automatically copied to your clipboard that can be password protected and set to expire after any desired length of time.
You can also do quick mockups, edits, and walk-throughs using Zight (formerly CloudApp)’s screenshot tool and GIF maker.
Learn more about Zight (formerly CloudApp) for designers here.